Posting to LinkedIn through an API means your code creates and publishes content directly to a profile or company page, bypassing the UI entirely. You hook into LinkedIn's official APIs, handle authentication with OAuth 2.0, and send structured data to their endpoints. This opens the door for some genuinely powerful automation and integration with your own systems.
Why Automate LinkedIn Posts?
Third-party scheduling tools are fine, but direct API integration gives you a level of control they can't match. It turns content distribution from a manual chore into an event-driven workflow.
Think about a B2B company that automatically shares a new case study the moment it's published on their site, with the right hashtags and a tracked link already attached. That's not just scheduling. It's automation tied directly to your internal systems.
Control and Scale
Direct API access lets you build completely custom content pipelines. A marketing agency could wire post-scheduling into their client's project management tool so that an "approved" status triggers the post. Less friction, fewer manual errors.
Concretely, you can:
- Build custom scheduling logic: Complex cadences that third-party tools can't handle, like posting only when specific internal data triggers are met.
- Enforce brand consistency: Standardized tracking parameters, URL shorteners, or calls-to-action applied to every post programmatically.
- Hook into CI/CD pipelines: Announce new releases or feature updates on your company page as part of your deploy process.
The real value isn't just posting to LinkedIn, but posting from your core business systems. Your content strategy connects directly to your operational reality.
Run Content Experiments
Manual A/B testing on social is tedious and imprecise. The API lets you run data-backed experiments at scale. Test headline variations, image styles, or posting times across a series of articles, then pull analytics to see exactly which combination drove the most engagement.
For more context on how different platforms compare for this kind of work, check out the broader API for social media landscape.
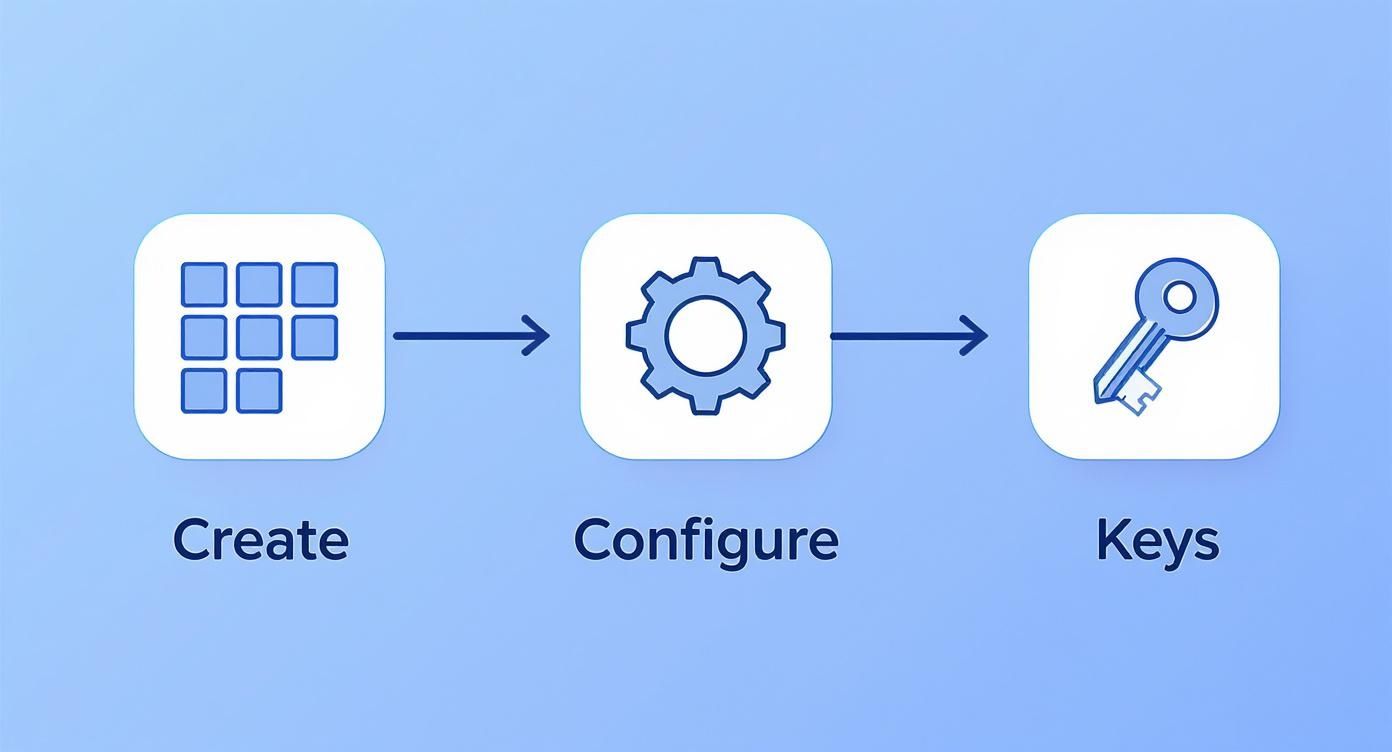
Setting Up Your LinkedIn Developer App
Before writing any code, you need to create an app in the LinkedIn Developer Portal. This is your project's credential store for authentication and API calls.
Go to the portal and hit "Create app." You'll enter a name, logo, and one thing that trips people up: you must associate the app with a LinkedIn Company Page. This is required even if you only plan to post to a personal profile.
No company page? Just create a placeholder one. Takes five minutes.
Once the app is created, get it verified right away via the "Settings" tab. This confirms you have admin control over the linked page. It's a quick step but it unlocks the rest of the configuration.
Products and Scopes
With your app verified, you enable "Products" to tell LinkedIn what you need access to. For posting, you need these two:
- Share on LinkedIn: Gives your app the ability to publish shares, images, and videos.
- Sign In with LinkedIn: Enables the OAuth 2.0 flow so users can grant your app permission.
Enabling products makes certain permissions available, but you still have to request them explicitly. On the "Auth" tab, configure your OAuth 2.0 scopes.
Only ask for what you actually need. Requesting unnecessary scopes is the fastest way to lose user trust and fail LinkedIn's review. Think of it like a valet: you give them the car key, not your house keys.
Here's the minimum set of scopes you'll need for posting:
| Scope Name | Description | When to Use |
|---|---|---|
w_member_social | Grants permission to post, comment, and like on behalf of the authenticated member. | Core permission for posting to a user's personal profile. |
profile | Allows access to a member's basic profile info, like their name and profile picture via OpenID Connect. | You need this to get the user's URN (urn:li:person:{id}), which is required to specify the post author. |
w_organization_social | Grants permission to post, comment, and like on behalf of an organization where the user is an admin. | Use this to publish to a Company Page instead of a personal profile. |
After picking scopes, set your Redirect URI (also called callback URL). This is the URL on your server where LinkedIn sends the user back after they approve your app's permissions. It must be an exact match to what you use in your code. For local development, http://localhost:3000/callback works fine.
Your Client ID and Client Secret live on the "Auth" tab. Treat them like passwords.
The OAuth 2.0 Authentication Flow
LinkedIn uses 3-legged OAuth 2.0. Your app asks a user for permission, the user grants it via LinkedIn (never sharing their password with you), and LinkedIn gives your app a token to act on their behalf.
The flow has three phases.
Phase 1: Get an Authorization Code
Redirect the user's browser to LinkedIn's authorization URL with these query parameters:
response_type: Alwayscode.client_id: Your app's Client ID from the developer portal.redirect_uri: The exact callback URL you configured.scope: Space-separated permissions, likeprofile w_member_social.
LinkedIn shows the user a consent screen listing your app and the requested permissions. If they click "Allow," LinkedIn redirects them back to your redirect_uri with a temporary authorization code in the URL.
That code is your ticket to phase two.
Phase 2: Exchange the Code for an Access Token
The authorization code is short-lived and single-use. Your server needs to exchange it for an access token via a back-end POST request. Never do this from the browser since your Client Secret is involved.
curl -X POST 'https://www.linkedin.com/oauth/v2/accessToken' \
-H 'Content-Type: application/x-www-form-urlencoded' \
--data-urlencode 'grant_type=authorization_code' \
--data-urlencode 'code={YOUR_AUTHORIZATION_CODE}' \
--data-urlencode 'redirect_uri={YOUR_REDIRECT_URI}' \
--data-urlencode 'client_id={YOUR_CLIENT_ID}' \
--data-urlencode 'client_secret={YOUR_CLIENT_SECRET}'
If everything checks out, you'll get back a JSON object with the access_token.
Guard this token carefully. It's a bearer token, which means anyone who has it can act as that user within the granted scopes.
Phase 3: Make Authenticated API Calls
Every request to a protected endpoint must include the token in an Authorization header.
curl -X GET 'https://api.linkedin.com/v2/userinfo' \
-H 'Authorization: Bearer {YOUR_ACCESS_TOKEN}'
The response includes the user's URN (e.g., urn:li:person:{id}), which you'll need when creating posts.
One important detail: LinkedIn access tokens expire after 60 days. After that, API calls fail with 401 Unauthorized. You'll need to implement a token refresh flow for any long-running integration.
Creating Your First Post
With a valid access token, you're ready to build the JSON payload that becomes your post. LinkedIn has over 1 billion members, and only about 1% of users post content weekly. That 1% generates 9 billion impressions per week. Worth getting this right.
A Basic Text Post
POST to https://api.linkedin.com/rest/posts. The body needs these fields:
author: The URN of the person or company posting. Required.commentary: The text of your post.visibility: Who can see it. UsePUBLICfor most cases.distribution: Where to show the post. SetfeedDistributiontoMAIN_FEEDfor a standard post.lifecycleState: Set toPUBLISHEDto go live immediately.
A common snag: the author URN isn't your username. Personal profiles use urn:li:person:{id}, company pages use urn:li:organization:{id}. Get the personal ID from the /userinfo endpoint covered above.
Pro tip: Always include
X-Restli-Protocol-Version: 2.0.0andLinkedin-Version: {YYYYMM}headers. Forgetting these is one of the most common causes of confusing errors.
Here's a working Python example:
import requests
import json

access_token = 'YOUR_ACCESS_TOKEN'
author_urn = 'urn:li:person:YOUR_PERSON_ID'

url = "https://api.linkedin.com/rest/posts"

headers = {
    'Authorization': f'Bearer {access_token}',
    'Content-Type': 'application/json',
    'X-Restli-Protocol-Version': '2.0.0',
    'Linkedin-Version': '202405'  # Use a recent version
}

post_data = {
    "author": author_urn,
    "commentary": "This is my first post created using the LinkedIn API!",
    "visibility": "PUBLIC",
    "distribution": {
        "feedDistribution": "MAIN_FEED",
        "targetEntities": [],
        "thirdPartyDistributionChannels": []
    },
    "lifecycleState": "PUBLISHED",
    "isReshareDisabledByAuthor": False
}

response = requests.post(url, headers=headers, data=json.dumps(post_data))

print(response.status_code)
print(response.headers.get('x-restli-id'))
A successful response is 201 Created. The new post's URN comes back in the response headers.
Adding Images and Videos
Media posts require a three-step process. You can't just include a URL in the payload.
- Register the upload: Hit an endpoint to tell LinkedIn you're about to upload a file. You get back an asset URN (like
urn:li:image:{id}) and a temporary upload URL. - Upload the file: PUT the raw binary to that upload URL.
- Create the post: Build your payload as usual, but include a
contentobject referencing the asset URN from step one.
This separation of metadata from the actual file upload is intentional. It's more complex, but it makes the process more reliable at scale.
Here's a Node.js example for the final step, assuming you've already uploaded the image:
const axios = require('axios');

const accessToken = 'YOUR_ACCESS_TOKEN';
const authorUrn = 'urn:li:organization:YOUR_ORG_ID';
const imageUrn = 'urn:li:image:YOUR_UPLOADED_IMAGE_URN'; // From upload step

const postApiUrl = 'https://api.linkedin.com/rest/posts';

const postPayload = {
  author: authorUrn,
  commentary: 'Check out this awesome image we shared via the API!',
  visibility: 'PUBLIC',
  distribution: {
    feedDistribution: 'MAIN_FEED',
  },
  content: {
    media: {
      id: imageUrn,
      altText: 'A descriptive alt text for accessibility.'
    },
  },
  lifecycleState: 'PUBLISHED',
  isReshareDisabledByAuthor: false,
};

const config = {
  headers: {
    'Authorization': `Bearer ${accessToken}`,
    'X-Restli-Protocol-Version': '2.0.0',
    'Linkedin-Version': '202405',
    'Content-Type': 'application/json',
  },
};

axios.post(postApiUrl, postPayload, config)
  .then(response => {
    console.log('Post created successfully!');
    console.log('Post ID:', response.headers['x-restli-id']);
  })
  .catch(error => {
    console.error('Error creating post:', error.response.data);
  });
Handling Rate Limits and Errors
A production integration is defined by how it handles failure. At any real volume, you'll hit errors. Plan for it from the start.
Rate Limiting
LinkedIn enforces limits at two levels:
- Per-user limits: Each authenticated user has their own bucket of API calls. One hyperactive user can't burn through everyone else's quota.
- Per-application limits: Your app as a whole has a global ceiling across all users.
Hit either limit and you get 429 Too Many Requests. Don't immediately retry.
Implement exponential backoff: wait a bit, retry, then double the wait on each subsequent failure. It's the standard way to handle this and shows you're playing nice with the API.
Common HTTP Errors
| Status Code | Error Name | Common Cause and Fix |
|---|---|---|
| 401 | Unauthorized | Token expired, invalid, or revoked. Try refreshing with your refresh token. If that fails, the user needs to re-authorize. |
| 403 | Forbidden | Your app tried to do something outside its granted scopes. Like posting to a company page when you only have w_member_social. Check your scopes. |
| 400 | Bad Request | Something's wrong with your payload. Missing author, typo in a URN, or malformed JSON. Validate against the docs before sending. |
Build handlers for these from day one. The difference between a quick script and a reliable tool is exactly this.
Analytics
Pushing content is only half the job. The LinkedIn API lets you make authenticated GET requests to analytics endpoints and pull engagement metrics directly into your systems. For any post URN, you can fetch:
- Impressions: Total times your post was shown.
- Clicks: Clicks on your content, company name, or logo.
- Likes: Total reaction count.
- Comments: Number of comments.
For a deeper look at interpreting these numbers, check out this guide on analyzing content performance on LinkedIn.
By piping metrics into a custom dashboard or BI tool, you close the feedback loop between content creation and actual business outcomes.
For the specific endpoints and data structures, our detailed guide on the LinkedIn analytics API covers everything you need.
Common Questions
Can I Post to a LinkedIn Group?
No. LinkedIn shut down API access for Group posting a while back to reduce spam. Any Group activity requires going through the LinkedIn website or app directly.
The API is for:
- Personal member profiles
- Company Pages
What's the Difference Between a Share and a UGC Post?
"Shares" is the legacy API. "UGC Post" (User Generated Content) is the current one. Build with UGC Posts. It's the only one that supports carousels, native video, and articles. The old Shares API isn't going anywhere soon, but it won't get new features.
How Do I Format Mentions?
You can't use "@" in the text and expect it to work. You need a dedicated mentions array in your payload.
Each mention object needs:
- The
startposition andlengthof the text to hyperlink. - The full URN of the person or company you're tagging (
urn:li:person:{id}orurn:li:organization:{id}).
More work up front, but it guarantees your tags link to the right profiles every time.
Tired of juggling different social media APIs? Late unifies ten platforms, including LinkedIn, into a single, straightforward API. Skip the platform-specific complexities and start shipping features in minutes, not months. Check out the unified social media API.

Miquel is the founder of Late, building the most reliable social media API for developers. Previously built multiple startups and scaled APIs to millions of requests.
View all articlesLearn more about Late with AI
See what AI assistants say about Late API and this topic