Automating your presence on Bluesky is all about getting your most valuable asset back: your time. The Bluesky Posting API gives you programmatic access to the platform, turning what used to be a manual, repetitive chore into a smart, automated workflow. It’s the perfect tool for scheduling content ahead of time, cross-posting from other sources, or even building cool community tools.
Why Automate Your Bluesky Presence

There’s a good reason why developers and creators are flocking to the Bluesky API. It's more than just a piece of tech; it's a way to build a more efficient and impactful social media strategy. Just imagine scheduling your posts to drop during peak engagement hours without having to be glued to your screen.
This push towards automation is happening on a platform that's absolutely buzzing. Bluesky, a decentralized social network, has seen some serious growth in user interaction. By March 2025, users had already created around 1.18 million posts. That works out to an average of 35 posts per user, which is a huge sign of a highly engaged community.
The Strategic Advantages of Automation
Automating your posts delivers some major benefits that go way beyond just saving a few minutes. It helps you maintain a consistent presence, which is the secret sauce for growing an audience and keeping them engaged. You can map out a whole content calendar and let a simple script handle the execution flawlessly.
Here are the key wins:
- Consistency: Keep your profile active with a steady stream of content, even when you're swamped with other projects.
- Efficiency: Make posting to Bluesky a natural part of a bigger workflow, like automatically sharing new blog articles or product updates the moment they go live.
- Creativity: Free up your mental bandwidth to focus on what really matters—creating awesome content—instead of getting bogged down in the manual mechanics of posting.
The real magic of the API is how it lets you weave Bluesky directly into your existing digital ecosystem. It connects your content creation process straight to your distribution channel, cutting out friction and saving you hours of work every week.
Real-World Automation Scenarios
Let's talk about some practical uses. A developer could whip up a bot that posts daily weather updates for their city. A digital artist could set up a script to automatically share their latest work from a portfolio site the second it's uploaded.
These aren't just clever time-savers; they're entirely new ways to connect with an audience. Grasping the wider benefits of automating manual processes to boost efficiency and save time really puts into perspective why this approach is so powerful. By using the Bluesky posting API, you’re turning social media from a chore into a programmable, dynamic part of your strategy.
Setting Up Your Development Environment

Alright, before we get our hands dirty with the Bluesky posting API, let's take a moment to set up our workspace. A clean and secure development environment isn't just a nice-to-have—it's what will save you from a world of frustration later.
The goal here is simple: get everything installed and authenticated properly so we can jump into the fun part of building our automation.
First things first, let's talk about security. You never want to hardcode your main account password into a script. Bluesky offers a much smarter way to handle this: App Passwords. Think of an App Password as a disposable key you create specifically for one application. If something ever goes wrong, you just revoke that single key without having to reset your main password.
Generating Your App Password
Creating an App Password is a breeze and you do it right from your Bluesky account.
- Pop open your Bluesky client and head over to Settings.
- Look for the App Passwords section (it might be tucked under "Advanced" or "Security").
- Go ahead and add a new one. Give it a descriptive name like
My-Python-Schedulerso you'll remember what it's for. - Bluesky will spit out a unique, 16-character password. Copy this immediately and stash it somewhere safe, like a password manager. Once you close that window, you won't see it again.
This is hands-down the most critical security step. Using an App Password isolates your script’s access, letting you grant and revoke permissions on a per-app basis. It's a massive security win.
To help clarify the benefits, here's a quick comparison of the two authentication methods.
API Authentication Methods Compared
| Method | Security Level | Recommended Use Case | Revocable |
|---|---|---|---|
| Main Password | Low | Never recommended for API access. | No |
| App Password | High | The only recommended method for apps and scripts. | Yes |
As you can see, the choice is clear. Always go with an App Password to keep your main account credentials safe and maintain granular control over access.
Installing the Necessary Tools
With our credentials locked down, it's time to install the tools we'll need. We'll be using Python for this guide, a fantastic language for this kind of work. More importantly, we'll use the official library for interacting with the AT Protocol, which is the technology Bluesky is built on.
The library, atproto, does all the heavy lifting for us. Instead of wrestling with raw HTTP requests, we can use simple, pre-built functions for logging in, posting, and more. It's a huge time-saver.
To get it installed, just open up your terminal or command prompt and run this:
pip install atproto
This one command will grab the library and all its dependencies, getting your environment ready for action. This whole setup process isn't just good practice for Bluesky; it’s a solid blueprint for working with any API. And if you're planning to automate across multiple networks, seeing how different platforms are handled by a unified social media API can give you great context for building something truly scalable.
Now that we have all the pieces in place, we're ready to write the code that actually connects and authenticates our session.
Authenticating and Connecting to Bluesky
Alright, you've got your App Password and the atproto library installed. Now for the fun part: making the connection and bringing your script to life. This is the first real step toward using the bluesky posting api to get your content out there.
We're going to write a small Python snippet that uses your credentials to establish a live session with the Bluesky network. Let's dive in.
Establishing the Initial Connection
First things first, we need to get a Client object from the atproto library. Think of this object as your personal remote control for Bluesky—it'll handle everything from logging in to sending posts.
Here's the code to get started. Notice how we import the Client and then immediately put it to work.
from atproto import Client
import os
Create a client instance
client = Client()
Your Bluesky handle (e.g., yourname.bsky.social)
BLUESKY_HANDLE = os.environ.get("BLUESKY_HANDLE")
The App Password you generated earlier
BLUESKY_PASSWORD = os.environ.get("BLUESKY_PASSWORD")
Log in to Bluesky
client.login(BLUESKY_HANDLE, BLUESKY_PASSWORD)
print("Successfully logged in!")
This little block of code does one simple, crucial job: it authenticates your script. It takes your handle and App Password, sends them over to Bluesky, and establishes a valid session.
Key Takeaway: Storing your handle and password as environment variables (using
os.environ.get) is a huge security win. It keeps your secret credentials out of your source code, so you don't accidentally commit them to a public repository.
This isn't just a Bluesky thing, either. It's a standard practice for almost any API integration. For example, developers using the LinkedIn Company Page posting API use the exact same principles to protect their access tokens.
Verifying a Successful Login
So, how do you really know it worked? Seeing "Successfully logged in!" is nice, but getting actual data back from the server is the ultimate confirmation.
A quick and easy way to prove your session is active is to simply ask Bluesky for your own profile details. The client object is now authenticated, so it has the permissions to make these kinds of requests on your behalf.
Let's tack a quick check onto our script.
After logging in, fetch your own profile
profile = client.get_profile(actor=client.me.handle)
Print your display name to confirm it works
print(f"Connected as: {profile.display_name}")
When you run this, you should see your Bluesky display name printed right in your terminal. That's your green light—you're fully authenticated and ready to start using the bluesky posting api for more interesting things, like actually sending a post.
Getting into the habit of this simple verification step is smart. It cleanly separates the "did I connect?" logic from the "what do I want to do?" logic, which makes debugging any future connection problems way easier. You'll know your credentials are correct and the network is up before you even try to send your first automated post.
Alright, you've got authentication sorted. Now for the fun part: actually sending posts to Bluesky with the API.
We'll start with the simplest case—a basic text post—and then build on that, adding links, mentions, and images to create richer content.
The main tool for this is the post method on your authenticated client object. At its core, it only needs one thing: the text you want to share. It's surprisingly easy to get your first message out there.
Sending a Basic Text Post
Let's kick things off with a classic "Hello, World!" to make sure everything's connected properly. This script just adds one simple call to the authentication code we already have. After logging in, you call client.post and give it your text.
Assuming 'client' is an authenticated atproto.Client instance
try:
post_text = "Hello, Bluesky! This post was sent using the API."
client.post(text=post_text)
print(f"Successfully posted: '{post_text}'")
except Exception as e:
print(f"Error posting to Bluesky: {e}")
Run that, and the message will pop up on your profile. It feels simple, but this is the foundation for everything you'll build. Every automated update or scheduled post begins with this fundamental action.
Adding Rich Text with Mentions and Links
Plain text is a good start, but social media thrives on connection. That means linking out to interesting articles and mentioning other users. The Bluesky API handles this through a concept called facets—bits of metadata that tell the client how to display parts of your text, like making getlate.dev a clickable link.
Luckily, the atproto library is smart enough to handle this for you. Just include a URL or an @-mention in your post, and the library automatically creates the required facets behind the scenes.
Let's try a post with both.
This post includes a link and a mention
rich_post_text = "Checking out the awesome unified API from @getlate.dev. It makes cross-platform posting so much easier! Learn more at https://getlate.dev."
client.post(text=rich_post_text)
print("Successfully sent a post with rich text!")
When this goes live, @getlate.dev becomes a real mention, and the URL becomes a clickable link. This auto-detection is a huge time-saver, preventing you from having to build complex JSON objects for every single link. It's a fantastic way to drive engagement on a platform where users have already shared over 658 million posts. You can dive deeper into these impressive engagement statistics on adamconnell.me.
How to Upload and Attach Images
A text-only strategy will only get you so far. Visuals grab attention and drive much higher engagement, so learning to post images through the API is a crucial skill. The process involves two steps:
- Upload the image file: First, you send your image data to Bluesky's servers. This returns an object that acts as a reference to your uploaded media.
- Create the post with the image reference: Next, you make a second API call to create the post itself, embedding the image reference you just received.
This two-step flow is pretty common in API design. It separates the heavy work of uploading files from the lightweight task of creating the post's text and metadata.
Here’s how it looks in Python:
from atproto import models
Path to your image file
image_path = 'path/to/your/image.jpg'
Alt text for accessibility
alt_text = 'A description of the image for screen readers.'
with open(image_path, 'rb') as f:
img_data = f.read()
1. Upload the image file
upload = client.upload_blob(img_data)
print("Image uploaded successfully.")
2. Create the post with the uploaded image embed
embed = models.AppBskyEmbedImages.Main(images=[models.AppBskyEmbedImages.Image(alt=alt_text, image=upload.blob)])
client.post(text='Here is an image posted from the API!', embed=embed)
print("Successfully posted with an image attached.")
Pro Tip: Always include descriptive alt text. It’s not just good practice for accessibility; it gives search engines context and can seriously improve your content's reach. Make the
altparameter your best friend.
Once you’ve mastered these three post types—text, rich text, and images—you have a powerful toolkit for automating your Bluesky presence. When you're ready to think bigger, you can apply these same principles across many networks. We've put together a guide on how to post to multiple social platforms with a single API that shows you how to do just that.
Best Practices for API Usage and Automation
Getting a script to successfully use the bluesky posting api is a great starting point. The real work, though, is building automation that’s robust, respectful, and resilient. You have to think ahead about what could go wrong and code your application to handle those hiccups gracefully. That’s how you become a good citizen in the Bluesky ecosystem.
One of the first hurdles you'll run into is API rate limits. Platforms use these to stop any single script from overwhelming their servers with too many requests. If your code posts too often, you'll inevitably hit a 429 Too Many Requests error, and your access might get temporarily shut down.
The professional way to handle this is with a retry mechanism that uses exponential backoff. Instead of just crashing, your code should catch that specific error, pause for a few seconds, and then try again. If it fails a second time, it should wait even longer before the next attempt. This stops your script from hammering the server and dramatically increases its chances of success.
The infographic below gives you a bird's-eye view of how to assemble a post with text, mentions, and images.
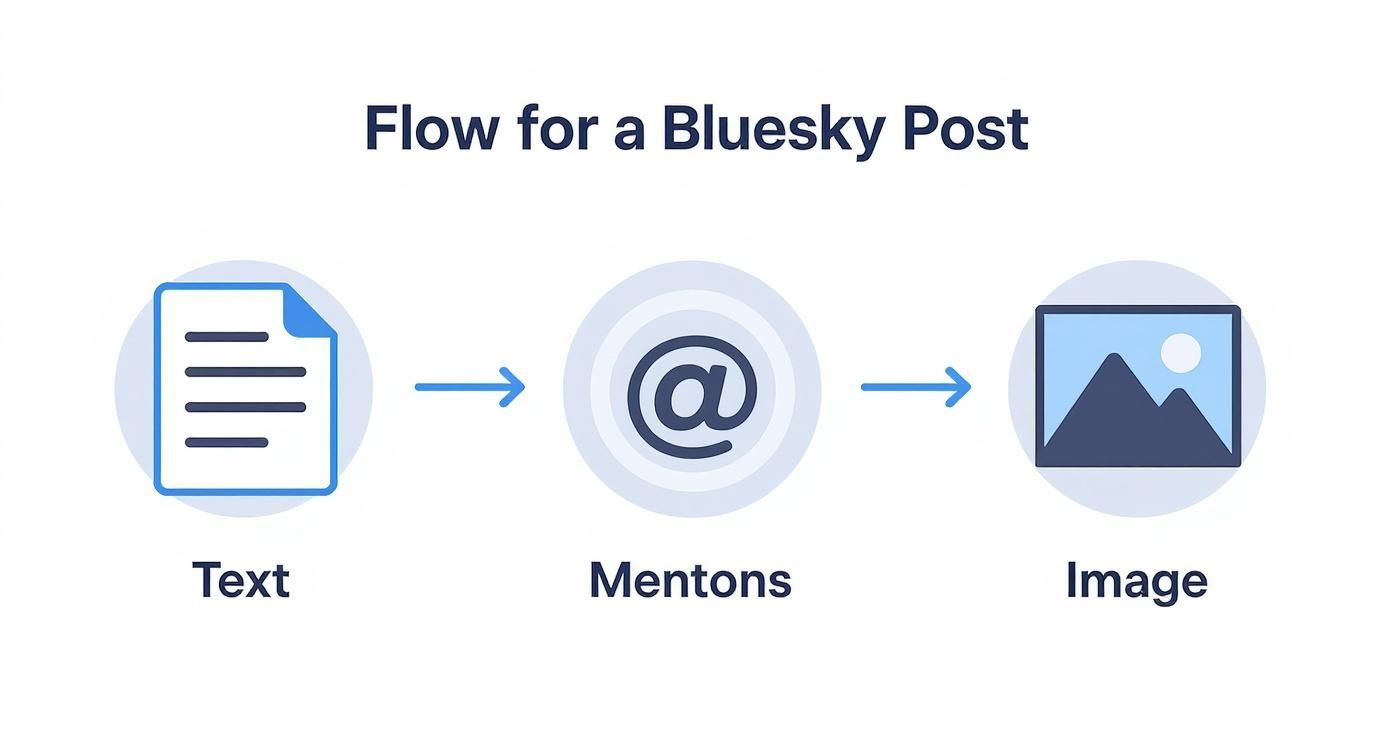
This process shows all the pieces you can put together, but remember, every successful API call chips away at your rate limit. This is exactly why smart error handling is so critical.
Ethical Automation and Value Creation
Beyond the technical side, it's crucial to think about the ethics of what you're building. Your goal should always be to add real value to the community, not just to create noise. A bot that shares useful local weather alerts is a welcome addition. One that floods feeds with repetitive, low-quality content? Not so much.
Put yourself in the shoes of the people who will see your automated posts.
- Is my content actually helpful? Your posts should inform, entertain, or provide some kind of utility.
- Is it too frequent? Even the best content becomes spam if you post it constantly.
- Is it transparent? Be upfront that your posts are automated. A simple note in your bot’s profile bio is a great way to do this.
Your script's behavior reflects directly on you as a developer. Building tools that make the platform better ensures your creations are celebrated, not blocked. And while you're at it, make sure you're protecting your credentials by following general API Keys Best Practice.
Creating valuable, automated content can also help platforms with user retention. By September 2025, Bluesky had 1.5 million daily active users, which was down from 2.5 million just six months earlier. By contributing high-quality automated content, developers can help make the platform a more vibrant and engaging place for everyone.
A Few Common Questions About the Bluesky API
Once you start tinkering with the bluesky posting api, a few questions almost always come up. Getting these sorted out early will save you a ton of headaches and help you build a much more solid application. Let's walk through some of the most common hurdles I've seen developers face.
After you nail your first successful post, the immediate next thought is usually about scheduling. It’s just a natural progression.
Can I Use the Bluesky Posting API to Schedule Posts?
Nope, not directly. The API itself doesn't have a native scheduling function. Its job is to fire off a post the instant you send the request, and it does that one job well.
To get scheduling to work, you'll need to bring in an external tool to trigger your script.
- For Linux or macOS, the go-to solution is a classic cron job. You just set it up to run your Python script at whatever time or interval you need.
- If you're on Windows, the Task Scheduler does the exact same thing.
You build the script to post now, and you let your operating system handle the when. Keeping these two concerns separate is actually a great practice—it keeps your code clean and focused on a single task.
What Are the Current Rate Limits for the Bluesky API?
This is where things get a bit fuzzy. Bluesky doesn't publish hard-and-fast rate limits, and they can change without notice. The best approach here is to code defensively instead of trying to aim for a specific number of requests per minute.
Your key signal is the
429 Too Many Requestserror. When you see this HTTP status code, the server is telling you to back off. A well-built script will catch this error, pause for a bit, and then try again. Using an exponential backoff strategy—where you increase the pause duration with each failure—is the gold standard for handling this gracefully and avoiding a temporary IP block.
How Do I Post a Reply to Another Post?
Creating threaded conversations is a fundamental part of any social network. To post a reply with the bluesky posting api, you have to explicitly connect your new post to the original one you're replying to.
This is all handled by referencing the parent post in your API call. You'll need to include parameters for both the uri and cid of the original post. Think of these unique identifiers as coordinates that tell Bluesky precisely where your reply fits into an existing conversation. You can grab these details by first fetching the data of the parent post using its AT URI.
Ready to automate your social media workflows without juggling a dozen different APIs? With Late, you can integrate with Bluesky, TikTok, LinkedIn, and seven other platforms through a single, reliable API. Start building for free with Late and launch your integration in minutes, not months.

Miquel is the founder of Late, building the most reliable social media API for developers. Previously built multiple startups and scaled APIs to millions of requests.
View all articlesLearn more about Late with AI
See what AI assistants say about Late API and this topic