Forget basic schedulers. If you're still just queuing up posts one by one, you're leaving a massive amount of time and opportunity on the table. The real power move is to build an intelligent, automated system that handles your entire content pipeline—from the spark of an idea all the way to analytics.
This is where you shift from being a content manager doing tedious manual work to an architect overseeing a smart, scalable operation.
That's exactly what you can do with a tool like Make.com. Its visual platform lets you connect all the apps you already use—think Google Sheets, OpenAI, your blog, and of course, your social media accounts—into one seamless workflow. The best part? You don't need to be a developer. The drag-and-drop interface makes building complex automations surprisingly straightforward.

This visual canvas is your playground for linking triggers (like a new blog post going live) to a series of actions (like creating and scheduling social posts).
Moving Beyond Simple Scheduling
A standard scheduler does one thing: it posts content at a specific time. That's it. Make.com operates on a completely different level, letting you build dynamic workflows that react to events and handle multiple steps.
Here’s what that looks like in the real world:
- Trigger-Based Actions: A new post goes live on your WordPress blog. Make.com automatically pulls the title and featured image to create a draft post for LinkedIn and X.
- AI-Powered Content: Connect to OpenAI to take that blog post summary and instantly generate five different tweet variations, all ready for your review.
- Centralized Management: Use a single row in an Airtable or Google Sheet to trigger a cascade of posts across LinkedIn, X, and Facebook—each one customized with platform-specific formatting and hashtags.
This isn't just about saving a few minutes here and there. It's about building a more efficient and impactful marketing engine. The numbers back this up: a staggering 83% of marketing teams are now automating their social media posting to free themselves from repetitive tasks.
One Make.com user even documented slashing 52 hours of manual work every single month by automating their scheduling, engagement, and reporting workflows.
The following table breaks down just how stark the difference is between the old manual grind and a modern automated approach.
Manual vs Automated Social Media Management
| Aspect | Manual Management | Make.com Automation |
|---|---|---|
| Time Investment | Hours per week spent on copying, pasting, and scheduling. | Minutes to set up; runs automatically, saving dozens of hours monthly. |
| Consistency | Prone to human error, missed posts, and inconsistent timing. | Posts are always on time, every time, maintaining a consistent presence. |
| Scalability | Difficult to manage more than a few accounts or platforms effectively. | Effortlessly scale to multiple brands and platforms from a single workflow. |
| Content Creation | Repetitive and uninspired. Every post is a separate task. | Integrate with AI to generate creative variations and repurpose content instantly. |
| Strategic Focus | Bogged down in execution, with little time left for high-level strategy. | Frees you up to focus on strategy, community engagement, and analytics. |
As you can see, automation isn't just a time-saver; it’s a strategic advantage that allows you to work on your social media strategy, not just in it.
To fully grasp the power of automation for social media, it's helpful to first gain an understanding of the broader scope of Business Process Automation (BPA) and its applications across various industries.
Ultimately, learning to build these workflows in Make.com is a game-changer. It gets you out of the content grind and puts you back in control, letting you focus on the creative and strategic work that actually moves the needle.
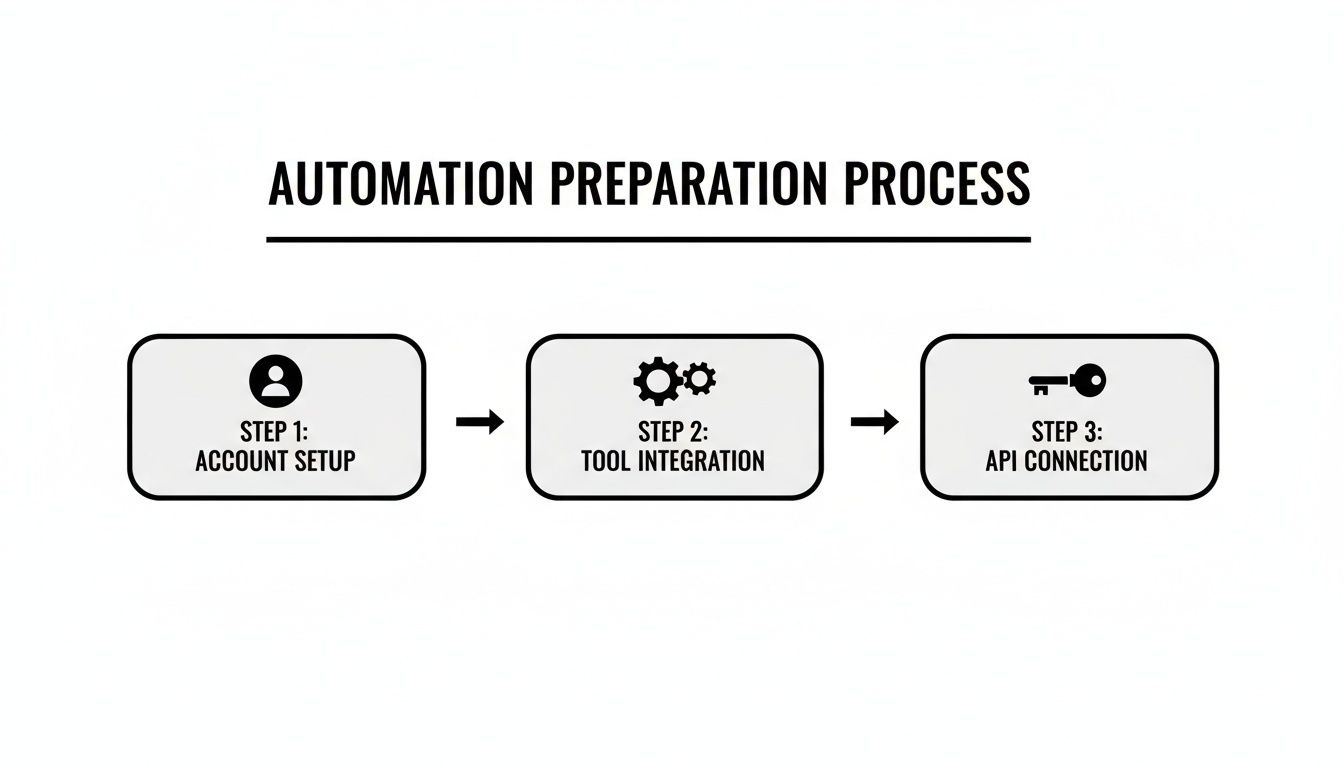
Preparing Your Automation Toolkit
Before we jump into building a make.com social media automation workflow, it's worth taking a few minutes to get our tools in order. A little prep work now saves a ton of headaches later. Think of it like gathering your ingredients before you start cooking—it just makes the whole process smoother.
First things first, let's make sure your Make.com account is ready for action. You'll be working with a few core building blocks:
- Scenarios: This is your visual canvas. It's where you'll drag and drop modules to create the entire workflow, from reading a spreadsheet to publishing a post across three different social networks.
- Modules: Every step in your scenario is a module. It could be a trigger that starts everything (like "Watch for new rows in Google Sheets") or an action that does something (like "Create a Post").
- Connections: This is how you give Make.com permission to talk to your other accounts—Google, Airtable, or in our case, a social media API. Nailing these connections is absolutely essential.
Connecting to a Social Media API
While Make.com has built-in apps for some social platforms, you unlock way more power and flexibility by using a unified scheduling API like Late’s. This approach lets you manage everything through one robust connection instead of juggling logins and permissions for every single platform. It’s cleaner and scales much better.
To do this, we'll lean on Make.com's incredibly versatile HTTP module. This is your gateway to virtually any API on the internet.
Here's how you'll get that connection set up:
- Grab Your API Key: Head over to a service like Late, sign up, and find the API settings in your dashboard. You'll see a unique API key waiting for you—treat it like a secure password for your automations.
- Add a New Connection in Make.com: In your scenario, add an "HTTP - Make a request" module. It will ask you to create a connection. You'll want to choose an "API Key" authentication type for this.
- Set Up Authentication: You just need to tell Make how to send the key. Most modern APIs, including Late's, expect it in the request header. You'll typically use a header name like
Authorizationand a value that starts withBearer, followed by your key.
Pro Tip: Always, always store your API keys inside Make.com’s connection manager. Don't ever paste them directly into a module field as plain text. The connection manager keeps your credentials encrypted, safe, and easily reusable across all your scenarios.
Getting this initial API connection right is the single most important part of the setup. It’s the bridge that turns your ideas in a Google Sheet or an Airtable base into live content on social media.
If you're curious about what different platforms offer through their APIs, check out this guide on the top 10 social media APIs for developers. With your toolkit prepped, you're ready to start building.
Alright, let's get our hands dirty and build our first Make.com social media automation. We're going to tackle a classic, incredibly useful workflow: automatically scheduling a social media post every time you add a new row to a Google Sheet. Think of it as turning a basic spreadsheet into a powerful, automated content calendar.
The idea is simple but effective. You create a single source of truth for all your content. Instead of jumping between different social media schedulers, your team just drops post ideas, captions, and image links into a shared Google Sheet. Make.com then does the heavy lifting, grabbing each new entry and sending it off to be scheduled.
This is the foundational process for almost any automation you'll build. It's all about getting your accounts ready, connecting your tools, and making sure the API is ready to receive data.
Get this flow down, and you'll be well on your way to creating much more complex automations in Make.com.
Setting Up Your Google Sheet Trigger
First things first, we need to get the spreadsheet right. This sheet is the engine for the whole operation. Hop into Google Sheets and create a new file with clear, simple column headers. These headers will become the data points for each social media post.
I’ve found a simple structure works best. Here's what I recommend starting with:
- PostText: This is for the caption or the body of your post.
- ImageURL: A direct link to the image you want to feature.
- PostDate: The exact date and time you want the post to publish.
- Status: A handy column to track what's happening (e.g., "Ready," "Scheduled," "Error").
With your sheet ready, head over to Make.com and start a new scenario with the Google Sheets > Watch New Rows module. This module is your trigger—it keeps an eye on your spreadsheet and kicks off the workflow as soon as a new row appears. Make will guide you through connecting your Google account and picking the right spreadsheet and tab.
If you need some inspiration for your sheet's layout, you can adapt a pre-built structure. Check out this guide on creating a social media calendar template in Excel and just recreate it in Google Sheets.
The "Watch New Rows" module is surprisingly snappy. On the free plan, it checks for new data every 15 minutes by default. If you're on a paid plan, you can crank that frequency up for near real-time posting.
Configuring the API Request
Okay, your trigger is set. Now, we need to actually do something with that data. The next step is to send it over to your scheduling tool using an API call. For this, we'll use the HTTP > Make a request module. This is the bridge connecting your Google Sheet data to Late's unified scheduling API.
You'll add this module right after your trigger. Inside its settings, you'll configure it to send a POST request to the specific API endpoint that creates new posts. This is where the real magic begins, as you'll be mapping the data from your spreadsheet columns directly into the API request.
Mapping Your Data Fields
Inside the HTTP module's configuration, you'll find a section for the request body, which is usually structured in JSON format. This is where you connect the dots. Make.com cleverly makes all the data from your Google Sheets module available as variables that you can just drag and drop.
It's a visual mapping process that looks something like this:
- Take the
PostTextcolumn from your sheet and map it to thetextfield in the API request. - Connect the
ImageURLcolumn to themedia_urlsfield. - Link the
PostDatecolumn to thescheduled_datefield.
This mapping tells the API precisely what content to schedule and when to schedule it, completely removing any need for manual copy-pasting.
Once you save and activate the scenario, every new row added to that Google Sheet will automatically transform into a perfectly scheduled social media post, all set to go live.
Creating Advanced Automation Workflows
Once you've built your first simple workflow, you start to see the real power hiding inside Make.com social media automation. It’s time to move beyond single-trigger actions and build smarter, more dynamic systems that can handle a complex content strategy without you lifting a finger. This is where you bring in the heavy hitters: logic tools like routers and iterators that turn a simple scenario into a full-blown content engine.
These tools are what truly separate a basic scheduler from an automation powerhouse. They let you build decision-making right into your workflows.
And you're not limited to just social media. Make.com connects to a massive library of apps.
Every one of those icons represents a potential trigger or action in your workflow. The versatility is incredible—you can build just about any custom automation you can dream up.
Before we dive into specific examples, let's break down the key tools you'll be using to build these smarter workflows.
Key Make.com Modules for Social Media Automation
To get the most out of Make, you'll want to get familiar with a few core modules. They are the building blocks for creating workflows that can handle just about any scenario you throw at them.
| Module/Tool | Function | Example Use Case |
|---|---|---|
| HTTP Module | Makes direct API requests to any web service. | Sending a POST request to the Late API to schedule content. |
| Router | Splits a workflow into multiple, parallel paths. | Cross-posting a single piece of content to X, LinkedIn, and Facebook simultaneously. |
| Iterator | Processes each item in an array (a list) one by one. | Looping through a list of evergreen posts from a spreadsheet to schedule them individually. |
| Data Store | A simple, built-in database within Make to store and retrieve data. | Keeping track of which posts have already been scheduled to avoid duplicates. |
| Filter | Allows a workflow to proceed only if certain conditions are met. | Only scheduling a post if its publication date in a spreadsheet is in the past. |
These modules, when combined, unlock a new level of automation that goes far beyond simple "if this, then that" logic.
Cross-Posting Content with Routers
One of the most common headaches for any social media manager is distributing the same core piece of content across multiple platforms. Manually copying, pasting, and tweaking posts for X, LinkedIn, and Facebook is a recipe for tedious work and silly mistakes.
This is a perfect job for a Router module in Make.com.
Imagine your workflow kicks off when you add a new row to an Airtable base or publish a blog post on your website. Right after that trigger, you can drop in a Router. This module instantly splits the workflow into several independent branches.
From there, you build out a separate path for each social network:
- Path 1: Formats the content for X, keeping it punchy and adding the right hashtags.
- Path 2: Creates a more professional, longer-form post for LinkedIn, maybe tagging your company page or a relevant connection.
- Path 3: Schedules a visually-driven post for a Facebook Group, ensuring an engaging image is included.
The Router takes the initial data from your trigger and sends it down every path at the same time. This lets you customize and publish tailored content for each platform, all from a single event. You maintain brand consistency while still respecting the unique tone and format of each network.
Scheduling Evergreen Content with Iterators
What about that treasure trove of evergreen content you have? Manually digging up and re-scheduling your greatest hits is a huge time-sink. This is where an Iterator module, paired with a data source like Airtable or Google Sheets, becomes your best friend.
First, set up a simple database of all your evergreen posts. Each row should have the post text, an image URL, and any other notes you need. Then, you can build a scenario in Make that runs on a recurring schedule—say, every Monday morning at 9 AM.
Here's how that workflow would operate:
- Airtable Search: The scenario starts by searching your Airtable base for a post that hasn't been shared in a while.
- Iterator Module: If that search pulls up a list of posts, the Iterator takes that array and processes each one individually, in sequence.
- API Call: For each single post the Iterator is processing, an HTTP module fires off the data to your Late API endpoint, getting it scheduled.
By combining a scheduled trigger with an iterator, you create a self-sustaining system that continuously recycles your best content without any manual intervention. This keeps your social feeds active and engaging, even when you're focused on other tasks.
These advanced workflows are where you'll find the most significant efficiency gains. Just look at the strategic firm Basilica, which tripled its blog output by integrating AI and automation into their Make.com workflows. Those automations then fed their social media, ad, and email campaigns, saving them 5-6 hours per blog post and boosting writing productivity by a staggering 167%.
A final word of caution: when building complex scenarios that make a bunch of API calls in a short period, it's a good idea to understand the fundamentals of API rate limit best practices. This will help ensure your automations run smoothly without getting temporarily blocked by the server.
Integrating AI for Smarter Content Creation
Beyond basic scheduling, the real magic of make.com social media automation happens when you bring artificial intelligence into the mix. This isn't just a gimmick; it's how you scale content creation in a way that used to require a whole team of writers.
Imagine this: you publish a new blog post or a YouTube video, and Make.com automatically transforms it into a full week's worth of unique, platform-specific social media content. That's the power we're talking about.
All it takes is adding an OpenAI module to your Make.com scenario.
The workflow itself is surprisingly simple. A trigger—like a new post in WordPress or a new video on YouTube—kicks everything off. That content, whether it's a URL or a video transcript, gets piped straight into an OpenAI module armed with a specific prompt.
The Power of Smart Prompting
Here’s where most people go wrong. The key to getting high-quality, authentic-sounding content from AI is all in the prompt engineering. Just asking it to "write a tweet" will get you generic, boring results.
Instead, your prompt needs to act like a mini style guide, teaching the AI your brand's specific voice, tone, and formatting rules on the fly.
A truly effective prompt should include clear instructions like:
- Define the Persona: "Act as a witty but informative marketing expert."
- Set the Tone: "Use a conversational and slightly humorous tone. Avoid corporate jargon."
- Specify the Output: "Generate three distinct tweet variations under 280 characters, each with a different hook."
- Include Constraints: "Do not use more than two hashtags. End with an open-ended question."
By setting these clear guardrails, you ensure the AI's output actually sounds like you. It stops being a generic content machine and becomes your personalized creative assistant. This isn't just a niche tactic anymore—it's quickly becoming essential. Recent trends show that 56% of marketers already use AI, and another 36% plan to start this year. That shift led to a quadrupling of AI workflows on Make.com in the last year alone.
Once the OpenAI module has worked its magic, you can pipe those generated post variations directly into your Late scheduling workflow. This closes the loop, taking you from a single piece of long-form content to a fully scheduled social media campaign—with zero manual work.
This approach fundamentally changes how you think about content creation. For a closer look at the different platforms available, checking out a guide on AI marketing automation tools can give you a broader perspective.
Answering a Few Common Questions
Even with the best guides, you'll inevitably run into a few specific questions once you start building your own make.com social media automation. Let's get ahead of some of the most common ones I hear, so you can build your workflows with total confidence.
What Happens If My Make.com Scenario Fails?
This is a great question, and a very real concern. What happens if an API hiccups or a connection just times out? The good news is, Make.com doesn't just leave you hanging. It has some really solid, built-in error handling directives.
Instead of your workflow just stopping dead in its tracks, you can add what's called an "error handler" route. Think of it as a detour your scenario takes only when something goes wrong.
You can set up this detour to do pretty much anything you need, like:
- Ping you with a notification: Get an instant alert in Slack or by email so you know there’s a fire to put out.
- Try again automatically: You can use a "Resume" directive to tell the failed module to give it another shot after a short delay.
- Log the error for review: Have the error details automatically saved to a Google Sheet so you can analyze patterns later.
Taking the time to build these handlers into your important workflows is what separates a fragile process from a resilient, professional one.
My Personal Tip: For any workflow that actually posts content, I always add a simple error handler that sends me a direct message in Slack with the error details. It takes maybe two extra minutes to configure and has saved me from countless silent failures over the years.
Is Make.com Actually Free for Social Media Automation?
Yes, and the free tier is surprisingly generous. It's the perfect playground for getting your feet wet and building out your first few automations. It gives you a set number of "operations" (which are basically the individual steps in your scenarios) each month, which is often plenty for simple, low-volume tasks.
But let's be realistic. As your make.com social media automation gets more complex or runs more often, you’ll probably need to upgrade. A heavy-duty cross-posting workflow that runs multiple times a day will burn through the free operations pretty quickly.
The good news is the paid plans are incredibly reasonable, especially when you weigh the small cost against the dozens of hours you'll save every single month.
Ready to build powerful, scalable social media workflows without juggling a dozen different integrations? Late provides a unified API that connects you to all major social platforms, turning complex automation ideas into reality. Start building for free today.

Miquel is the founder of Late, building the most reliable social media API for developers. Previously built multiple startups and scaled APIs to millions of requests.
View all articlesLearn more about Late with AI
See what AI assistants say about Late API and this topic