Building an n8n workflow for social media posting is about more than just scheduling. It's about creating a powerful, bespoke automation engine that can pull, process, and publish content across every platform you use, all from a single, unified system. This approach goes way beyond what off-the-shelf schedulers can do, giving you the freedom to connect any app, enrich content on the fly, and build a truly hands-off publishing pipeline.
Why Automate Social Media With n8n
Let's be honest, managing social media often feels like a Groundhog Day of copy-pasting content into a dozen different apps, each with its own quirks and limitations. Standard scheduling tools solve part of the problem, but they box you into their ecosystem. You're stuck with their approved integrations and their logic.
An n8n workflow shatters those walls.
You're no longer just scheduling—you're building an intelligent content pipeline. Imagine a system where adding a new row to a Google Sheet automatically kicks off a workflow. This workflow doesn't just schedule the post; it generates a custom image for it, rewrites the caption to fit the tone of LinkedIn versus X, and drops a success message into your team's Slack channel. That's the kind of power an n8n workflow for social media posting puts in your hands.
This is what true automation looks like: having the freedom and efficiency to manage your entire social presence from anywhere, without being chained to a desk.
The Real Impact of Workflow Automation
The most immediate benefit? You get your time back. We've seen teams report up to an 80% reduction in the manual grunt work required to manage their social accounts after implementing a solid workflow. It completely transforms social media management from a repetitive chore into a streamlined, data-driven machine that runs 24/7.
By automating the repetitive parts of social media management, you free up valuable time and mental energy to focus on what truly matters—creating great content and engaging with your audience.
This isn't just about efficiency; it's a strategic shift. Your team can finally step away from the mechanics of posting and dive into high-impact work like community building, performance analysis, and content strategy. If you want to dig into how this elevates brand consistency, it's worth understanding the benefits of automated social media posting. For more practical ideas to get started, check out our guide on automating social media.
Ultimately, it’s not just about posting more often. It’s about building a smarter, more resilient content engine that works for you.
Before we dive into the build, let's break down the essential building blocks we'll be using to create our automated posting system.
Core Components of Our n8n Social Media Workflow
| Component | Function | Example Tool/Node |
|---|---|---|
| Trigger | Kicks off the workflow based on an event. | Schedule Node, Webhook, Google Sheets Node |
| Data Source | Where the content for our posts lives. | Airtable, Notion, RSS Feed, Google Sheets |
| Content Processor | Manipulates or enriches the raw content. | Set Node, Function Node, AI Node (e.g., OpenAI) |
| Media Handler | Fetches or generates images/videos for posts. | HTTP Request Node, Cloudinary, Bannerbear |
| Publishing API | Sends the final content to social platforms. | Late API Node, HTTP Request Node |
| Error Handler | Manages failures and retries gracefully. | If Node, Merge Node, Error Trigger |
These components are the Lego bricks of our workflow. By combining them in creative ways, you can build a system perfectly suited to your specific needs.
Getting Your Ducks in a Row: Tools and Content Prep
Every great automation starts with a little bit of prep work. Before we even drag the first node onto our n8n canvas, we need to get our foundation right. This means setting up our tools and, more importantly, figuring out where our content will live.
Trust me, spending a little time on this now will save you a massive headache later. It’s the single most important step for building a reliable and scalable n8n workflow for social media posting.
Think of your content source as the mission control for your entire posting schedule. A clean, well-organized spreadsheet or database is the difference between a smooth-sailing workflow and one that constantly breaks. For this walkthrough, we’ll use a simple Google Sheet, but you can easily apply these same ideas to Airtable, Notion, or whatever database you prefer.
Building Your Content Hub
Your content hub is the single source of truth—it's where you'll stash everything n8n needs to craft a social post. By creating a clear structure from day one, you avoid the painful process of untangling a messy setup down the line.
I recommend starting with a Google Sheet with a few key columns. Here's a setup I use all the time for my own projects:
- Post_Copy: The actual text for your social media update.
- Image_URL: A direct, publicly accessible link to the image or video you want to post.
- Target_Platform: A simple text field to tell the workflow where to send the post (e.g., "LinkedIn," "X," "Instagram").
- Post_Status: This is a crucial column for tracking. n8n will update it after a post goes out, changing it from "Ready" to "Published" or "Error."
- Scheduled_Time: An optional timestamp for when you want the post to go live.
This clean structure gives your workflow a predictable format to read from. It also neatly separates content creation from the automation itself, meaning your marketing team can just fill in the sheet without ever having to log into n8n.
A structured content source is the bedrock of a resilient automation. When you clearly define your fields for copy, media, and target platforms, you give your n8n workflow the map it needs to run predictably, no matter what content you throw at it.
Connecting Your Accounts and Credentials
With our content hub ready, it's time to connect the dots in n8n. This means grabbing API keys and authenticating your services, which requires a bit of careful attention. You'll need credentials for Google Sheets (or your chosen database) and for the social media API you're using, like Late.
Securing these credentials is non-negotiable. Don't even think about pasting them directly into your workflow nodes. n8n has a fantastic built-in credentials store that encrypts and safely manages your keys and tokens. Always use it.
For each service you want to connect, the process generally looks like this:
- Find the API Docs: Head over to the developer portal for each platform (like the X Developer Portal or LinkedIn Developer Platform). This is where you'll find instructions for creating an "app" to get your keys.
- Generate Your Keys: Follow their steps to generate your
API Key,API Secret,Access Token, andAccess Token Secret. The names might vary a bit, but the concept is the same. - Store Them in n8n: Jump into your n8n instance, go to "Credentials," and click "Add Credential." Find the right service (e.g., "Google Sheets API") and paste your keys into the fields.
Nailing the authentication now ensures your workflow runs without a hitch and keeps your accounts secure. This is the final piece of our prep work—now we're ready to build.
Building the Core Posting Workflow in n8n
Alright, with the groundwork laid, it's time for the fun part: building the actual posting engine in n8n. This is where we wire up the nodes and bring your n8n workflow for social media posting to life. We’ll kick things off with a trigger, then map out the path your content will take from your spreadsheet all the way to your social media channels.
Essentially, we're turning that clean, structured content plan into a hands-free, multi-platform publishing machine.
The whole process boils down to a simple, three-stage flow: setting up the trigger, structuring the data, and connecting to the posting service.
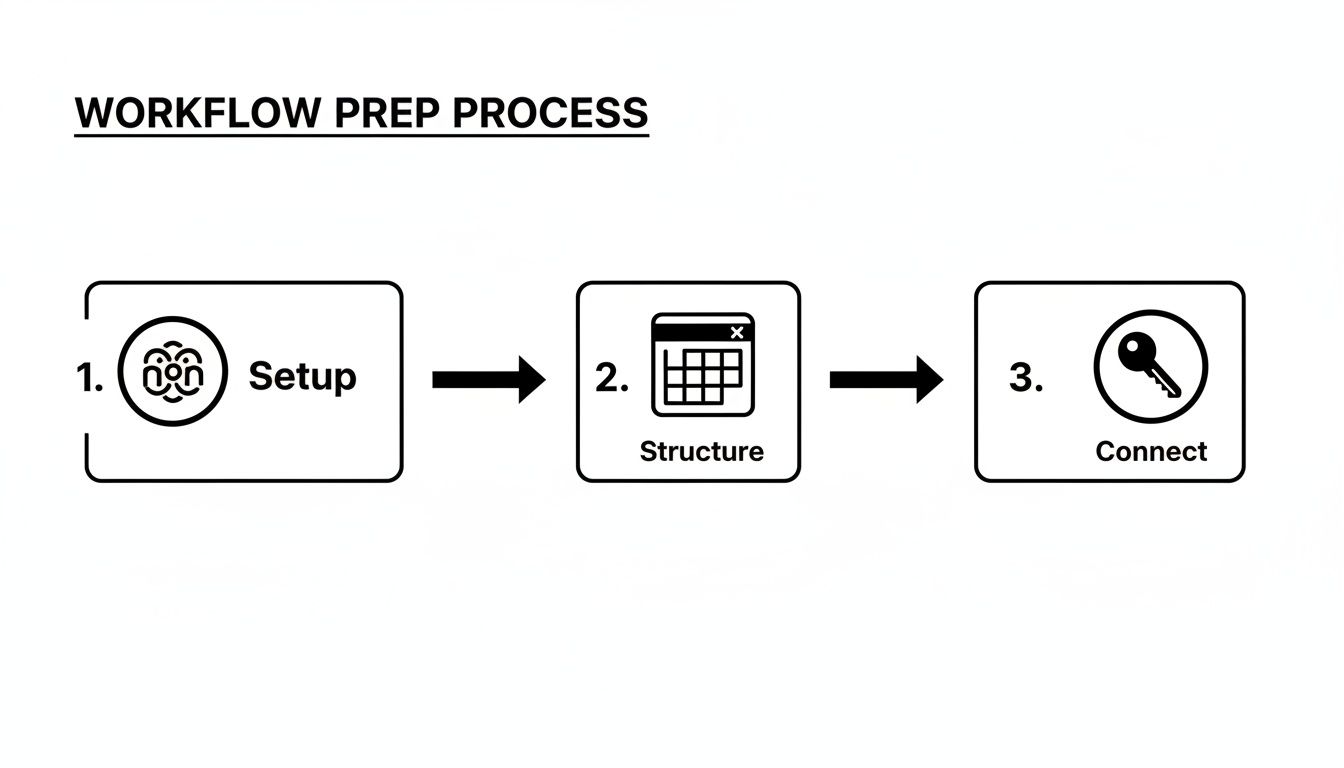
As you can see, a solid workflow is all about logical progression. It starts with a clear event and ends with a secure connection to your social accounts.
Choosing Your Workflow Trigger
Every workflow needs a starting gun—that first node that sets everything in motion. You've got a few solid options here, and the right one really depends on how you want your posting to feel.
For a classic "set-it-and-forget-it" system, the Schedule Node is your best friend. You can tell it to run on any schedule you dream up: once a day, every Monday at 9 AM, or even every hour. It's perfect for batch-processing all the "Ready" posts in your Google Sheet at a consistent time.
On the other hand, if you need more immediate posting, an Airtable Trigger or a Google Sheets Trigger is the way to go. These can fire the moment a new row is added or a status changes to "Ready," which is ideal for time-sensitive announcements or a more dynamic, real-time content strategy.
Fetching and Routing Your Content
Once the workflow is triggered, its first job is to grab the content. You’ll use a Google Sheets (or Airtable) Node set to "Read" data. I always recommend setting a filter to only pull rows where the Post_Status column is exactly "Ready." This is a simple but crucial step to prevent the workflow from accidentally re-posting content that has already gone live.
Now, here's where things get clever. Since each row in your sheet might be destined for a different platform, we need a way to direct the traffic. The Switch Node is the perfect tool for the job.
You simply configure the Switch Node to look at the Target_Platform column from your spreadsheet. Then, you create a separate output path for each possible value—one for "X," another for "LinkedIn," and so on. When a LinkedIn post comes through, the Switch Node sends it down the LinkedIn path and ignores the others. Think of it as a traffic cop for your content.
The Switch Node is the brain of your multi-platform workflow. By routing data based on a single field from your content source, you can build one unified workflow that handles every platform, eliminating the need for separate, redundant automations.
Configuring the Posting Nodes
With our content routed to the right place, the final step is to actually send it to the social platforms. This is where using an API like Late becomes a massive time-saver. Instead of wrestling with separate nodes, credentials, and configurations for every single platform, you can just use one HTTP Request Node pointed at the Late API.
If you're looking for inspiration on how this all fits together, exploring a complete social media workflow template can give you some great ideas for structuring these final steps.
Here’s a quick rundown on setting up the HTTP Request Node for each path coming from your Switch Node:
- URL: Set this to the Late API endpoint for creating a post.
- Authentication: Use the API key you already stored in your n8n credentials.
- Body Parameters: This is where you map your data. You’ll pull the
Post_CopyandImage_URLfrom the Google Sheets node. You'll also need to specify the target platform (e.g.,"platform": "linkedin") depending on which path the data took from the Switch node.
By using expressions, you can dynamically slot the content from your sheet directly into the API request. For example, the value for your post's text field would look something like {{ $json.Post_Copy }}. This mapping ensures the right content always goes to the right place.
After this node, I always add one last Google Sheets node to update the Post_Status to "Published," closing the loop and marking the job as done.
Integrating AI for Smarter Content Automation
Having a core posting workflow is great, but adding artificial intelligence is where things get really interesting. This is how you upgrade your n8n workflow for social media posting from a simple scheduler into an intelligent content partner. It stops being a repetitive task-doer and starts actively improving your content with almost no manual effort.
Instead of just dumping whatever is in your spreadsheet onto your social feeds, you can bring in an AI node—like the ones for OpenAI or Google Gemini—to rewrite your copy on the fly. This simple addition unlocks a massive opportunity to tailor every single post to the specific audience and tone of each platform.
Dynamic Content Generation with AI
Let's say your Google Sheet has one generic post idea. By slotting an AI node right after your workflow grabs that data, you can fire that idea over to a large language model with a unique set of instructions for every network you post to.
You could ask it to do things like:
- Rewrite for LinkedIn: "Turn this into a professional post for a business audience, focusing on industry insights."
- Adapt for X: "Condense this into a concise, punchy tweet under 280 characters and add 2-3 relevant hashtags."
- Craft for Instagram: "Create an engaging and slightly informal caption for this idea, including a question to drive comments."
Using this method means your content always feels native to the platform it's on, which is a huge factor for boosting engagement. You're no longer just broadcasting the same message everywhere; you're starting a conversation that feels right for the room. To really dive deep into what's possible, this AI powered content creation guide is a fantastic resource for enhancing your automated setups.
Advanced Workflow Logic and Error Handling
Once you start scaling up your automation, efficiency and reliability become everything. If you're trying to process dozens of posts at once, you can't have the entire workflow grind to a halt because one single post failed. This is exactly what advanced logic nodes were made for.
The Split in Batches node is an absolute lifesaver here. It takes a huge list of items—in this case, your posts—and processes them one by one or in small, manageable chunks. If one item runs into an issue, the rest of the workflow just keeps chugging along. No more total system breakdowns.
True automation isn't just about what happens when things go right; it's about what happens when they go wrong. Building a dedicated error workflow that catches, logs, and notifies you of failed posts is the key to a system that runs smoothly and reliably, even when the unexpected happens.
We're seeing a growing trend where people use this kind of robust automation to discover trending topics and then publish high-quality content across networks like LinkedIn, X, and TikTok. Some of these workflows even monitor sources like Google Trends, spot an emerging topic, and then use AI to create a human-like post from scratch. It handles everything from the initial research to formatting it perfectly for each platform.
When you bring AI-driven content generation together with smart logic for processing and error handling, you create a system that isn't just powerful but also incredibly resilient. This is critical as platforms continue to evolve—check out our piece on Pinterest’s new AI content filter to see just how fast things are changing.
Closing the Loop: Let's Automate Performance Tracking
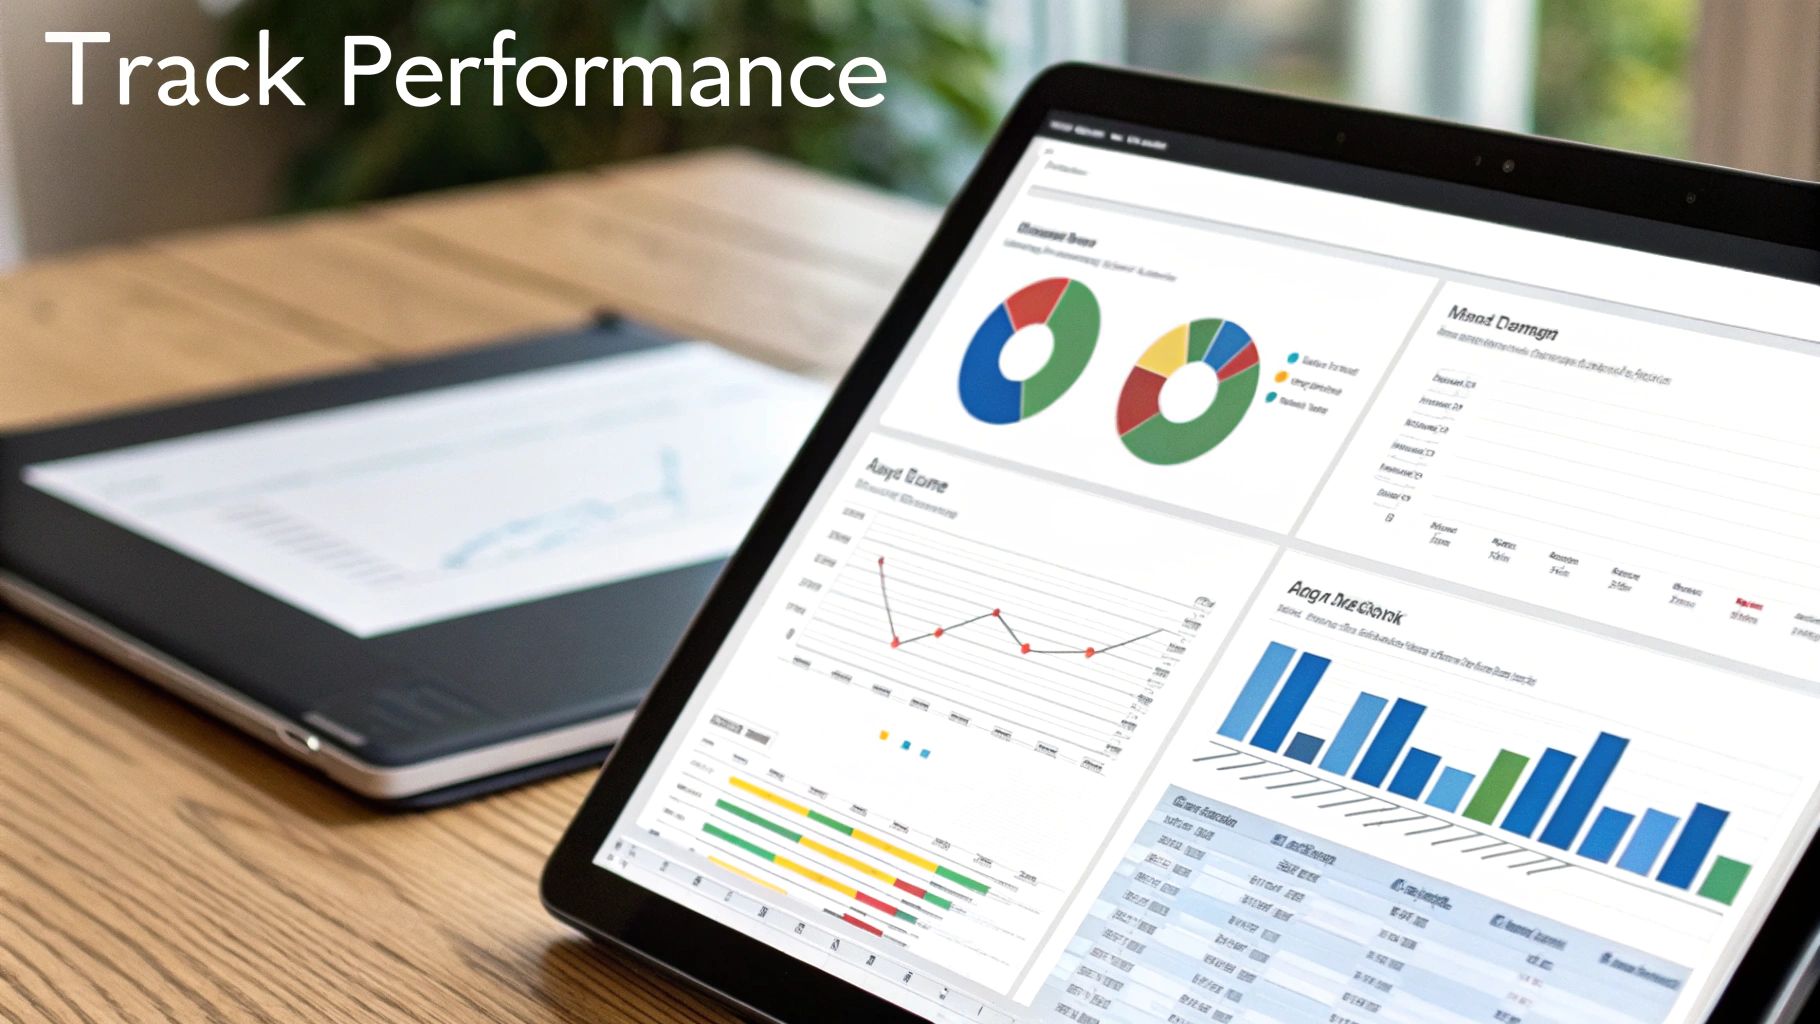
Hitting "publish" is just the start. The real magic happens when you understand what content actually connects with your audience. A truly smart n8n workflow for social media posting does more than just broadcast content—it builds a feedback loop. This is where we’ll set up a companion workflow that automatically pulls in your performance stats, turning your content hub into a living, breathing dashboard.
The idea is to create a second, separate workflow that runs on a schedule, maybe once a day. Its only job is to find your recently published posts, grab the latest engagement numbers from each platform’s API, and then pipe that data right back into your original Google Sheet or Airtable.
Building the Performance Tracker Workflow
First things first, you'll need to add a few new columns to your content source. Think Likes, Comments, Shares, and Reach. Your new workflow kicks off with a Schedule Node set to run daily.
This node then triggers a Google Sheets Node (or Airtable, if that's your jam). Configure it to read all the rows where the Post_Status column says "Published" but the Likes column is still empty. This little trick is key—it ensures you're only fetching data for new posts and not re-analyzing old ones every day.
Next up is the HTTP Request Node, which will do the heavy lifting of calling the social media APIs. Remember how our first workflow saved the Post ID back to the spreadsheet? This is where that pays off. You’ll use that ID to ask the API for the engagement stats for that specific post.
This is what a closed-loop system looks like. You're directly connecting your content strategy to its real-world impact. Your post copy and its performance metrics will live side-by-side, giving you the power to make genuinely data-driven decisions without ever leaving your content hub.
The final piece of the puzzle is another Google Sheets Node, this time set to "Update" mode. It takes the engagement data you just fetched from the API and neatly slots it into the corresponding Likes, Comments, and Shares columns for that post.
With this simple automation from n8n, you can capture detailed metrics without a single minute of manual data entry. You can learn more about building these kinds of systems from other creators in the n8n community forum.
Over time, your simple content calendar transforms into a rich, self-updating report on what your audience actually cares about.
Key Metrics to Track Across Platforms
To get the most out of your performance workflow, you need to track the right metrics. This table breaks down the essentials you should capture to get a clear picture of your social media performance.
| Metric | Description | Platforms |
|---|---|---|
| Impressions/Reach | The total number of times your content was displayed or seen. | All (X, LI, IG, FB, TT) |
| Engagement Rate | (Likes + Comments + Shares) / Impressions. Shows how engaging your content is. | All |
| Likes/Reactions | The simplest form of positive feedback on your content. | All |
| Comments | Indicates active conversation and community engagement. | All |
| Shares/Retweets | Measures how much your audience values your content enough to share it. | All (except IG) |
| Video Views | The number of times your video content has been viewed (often with a time threshold). | IG, FB, LI, TT, YT |
| Saves | Shows that users found your content valuable enough to return to later. | IG, Pinterest |
| Clicks | The number of clicks on a link, your profile, or other parts of your post. | All |
By pulling these specific data points back into your central database, you’re not just collecting numbers—you’re building a powerful engine for content optimization.
A Few Common Gotchas with n8n Social Media Workflows
When you're deep in the weeds building any kind of automation, it's easy to hit a snag. Getting blocked by an API limit or scratching your head over how to post a video instead of a simple image is a rite of passage. I've been there.
This section covers a few of the most common questions and hurdles I see people encounter when setting up an n8n workflow for social media posting. Think of it as your cheat sheet for smoothing out the rough edges.
How Do I Handle API Rate Limits?
Ah, the classic rate limit. It’s the number one cause of failed workflow runs when you’re dealing with external services. Social media platforms are especially strict about how many API calls you can make in a given window of time to keep things fair and prevent spam.
The simplest fix? Pop a Wait node into any loop in your workflow. If you’re iterating through a list of posts from a Google Sheet, for example, just adding a small delay of a few seconds between each run is often all you need to stay under the radar.
For a more robust solution, you can actually check the API response headers. Many services will tell you how many requests you have left. You could use an "If" node to inspect those headers and dynamically pause the workflow only when you're about to hit the limit.
Can This Workflow Post Videos and Carousels?
Absolutely, though it’s a bit more involved than just firing off a single image. It requires you to think in terms of how APIs handle files, not just text.
Most n8n nodes that deal with media will need the file's raw binary data.
- For videos: You’ll probably use an HTTP Request node to first read the video file from a URL or a local source. This turns the file into binary data that n8n can then pass along to the social media node or another HTTP Request node that's set up to handle the final upload.
- For carousels: This is almost always a two-step dance. You first have to upload each image or video in the carousel one by one. Each upload gives you back a unique media ID. Then, you make one final API call to create the carousel post itself, providing the list of all the media IDs you just collected.
Always—and I mean always—use n8n's built-in Credentials store. Never, ever hardcode API keys or access tokens directly into your nodes. This keeps your secrets secure and makes updating a credential a one-and-done task, not a frantic scavenger hunt through your entire workflow.
It’s a foundational best practice that separates a hobby project from a professional-grade automation. It keeps your sensitive data encrypted and completely separate from your workflow's logic.
Ready to stop wrestling with individual social media APIs and start building powerful, unified workflows? With Late, you can connect to ten platforms through one simple, reliable API.

Miquel is the founder of Late, building the most reliable social media API for developers. Previously built multiple startups and scaled APIs to millions of requests.
View all articlesLearn more about Late with AI
See what AI assistants say about Late API and this topic