Let’s be real—most downloadable social media templates are a shortcut to creating generic, uninspired content. They promise a quick fix, but a one-size-fits-all approach almost always misses the mark, failing to capture your unique brand voice or align with your actual marketing goals.
This section is all about why we’re ditching those templates and building something better from scratch. It’s about creating a tool that forces you to think strategically from the get-go.
Why Generic Social Media Calendars Fall Short
We've all been there. You download a pre-made social media calendar, and it feels like a win. But these templates are designed for mass appeal, which means they’re stripped of the very nuance that makes for great marketing.
Instead of adapting to your workflow, you end up conforming to a rigid structure that wasn’t built for you. This "fill-in-the-blanks" mindset stifles the creative and strategic thinking that separates forgettable content from posts that truly connect.
A one-size-fits-all template almost always misses the mark in a few critical ways:
- Brand Voice Dilution: Your brand's personality can't be shoehorned into a generic spreadsheet column. It gets lost.
- Platform Nuances: A template treating Instagram the same as LinkedIn is a huge red flag. Each platform has its own audience, expectations, and content formats.
- Goal Misalignment: Off-the-shelf templates rarely have fields for tracking how a post connects to a larger business objective or KPI. This makes it nearly impossible to measure what's actually working.
Moving Beyond Basic Planning
This is where building your own social media calendar template becomes a game-changer. The act of creating it forces a crucial strategic shift in your thinking.
Suddenly, your calendar isn’t just a scheduling tool; it’s the command center for your entire content operation. You're forced to ask the important questions: What information does our copywriter need? How will the design team get requests for visuals? Where are we tracking post-performance?
This process naturally leads you to build a system that reflects your actual strategy. You start thinking in terms of content pillars, audience segments, and platform-specific tweaks.
A well-designed calendar is so much more than an organizational tool; it's your strategic framework. It ensures every single piece of content has a purpose, a place, and a clear path from a raw idea to a published post. This is how you solve the problem of ineffective content before you even start creating it.
Building your calendar from the ground up gives you a chance to bake in all the essential components that turn a simple spreadsheet into a powerful strategic asset.
To help you get started, here's a breakdown of the core fields I recommend including. Think of these as the building blocks for a truly high-impact calendar.
Core Components of a High-Impact Calendar Template
| Component | Purpose | Example |
|---|---|---|
| Date & Time | Pinpoints the exact schedule for publication, including timezone. | 2024-10-28 09:00 AM PST |
| Platform(s) | Specifies which social media channels the post will go on. | Instagram, LinkedIn |
| Content Pillar | Aligns the post with a core strategic theme or topic. | Product Education, Company Culture |
| Post Copy | The actual text for the post, tailored for each platform. | "Behind the scenes of our new feature..." |
| Visual Asset Link | A direct link to the image, video, or graphic (e.g., in Drive/Dropbox). | [Link to Google Drive Image] |
| Status | Tracks the post's progress through the workflow. | Draft, Needs Review, Approved, Scheduled |
| Campaign/Goal | Connects the post to a specific marketing initiative or KPI. | Fall Product Launch, Increase Web Traffic |
| Link to Published Post | A direct URL to the live post for easy reference and reporting. | [Link to live Instagram Post] |
By incorporating these elements, you're not just planning what to post—you're defining the why and how behind every piece of content.
The Power of a Structured System
The payoff for this initial effort is huge. For instance, 70% of marketing teams using organized, custom calendars report being better able to visualize their entire schedule, which drastically cuts down on last-minute scrambles.
These teams also see much smoother collaboration, with some cutting project delays by up to 25%. Why? Because the calendar becomes the undisputed single source of truth for all things content. You can dive deeper into how structured systems boost team efficiency on Asana.com.
By understanding these limitations and benefits, you're ready to build a calendar that's not just a spreadsheet, but a powerful engine for planning, collaboration, and performance.
Building Your Calendar From the Ground Up

Alright, this is where we roll up our sleeves and move from planning to doing. We’re about to build the core structure of your custom social media calendar template right inside Google Sheets or Excel. Think of this as pouring the foundation for your content command center.
The whole point here is to build a framework that actually fits your workflow, not force you into someone else's rigid system. A small e-commerce brand just won't need the same setup as a big B2B agency, and that’s exactly how it should be.
Starting With the Must-Have Columns
Every solid calendar I've ever built starts with a few non-negotiable columns. These are the absolute essentials that give you the core information for every single post. You can—and should—add more later, but these are the ones you need from day one.
- Date: The most obvious, but also the most critical. This is when your content goes live. I always use a
YYYY-MM-DDformat (like2024-11-15) to keep things sortable and avoid any regional confusion. - Platform: Which network is this for? Be specific. Even if you're recycling a message, the execution for LinkedIn is totally different from TikTok.
- Content Pillar: This is your strategic anchor. It ties every post back to your main themes—like "Product Education," "Behind the Scenes," or "User-Generated Content"—and makes sure you’re keeping a healthy content mix.
- Copy: The actual text of your post. My pro tip? If you tailor messages for different platforms, create separate columns like
Copy (LinkedIn)andCopy (Instagram). It saves so much confusion. - Visual Asset Link: A direct link to the final graphic, image, or video in a shared folder like Google Drive or Dropbox. This keeps your spreadsheet from getting bogged down and ensures everyone on the team is grabbing the right file.
- Status: This column is the engine of your workflow. It tracks a post's journey from a raw idea all the way to publication.
The real power of a custom calendar isn’t just in scheduling; it's in creating a single source of truth that mirrors your entire content process. Your columns should tell a story, guiding a piece of content from a simple idea to a fully approved and scheduled post.
This kind of organization has a real impact. Brands that use a structured social media calendar template often see a measurable lift—up to a 30% increase in conversion-related metrics, according to some studies. It's because planning this way ensures your content is diverse, targeted, and not just a random collection of posts.
Making Your Calendar Smarter
Once the basics are in place, it’s time for a few simple tweaks that turn a basic spreadsheet into a seriously efficient tool. These little details are what separate the amateur setups from the professional ones.
A great first step is using data validation to create dropdown menus. This is a lifesaver for columns like Platform and Status. Instead of letting people type "Instagram" one day and "IG" the next, you give them a fixed list. It prevents typos and keeps your data clean, which is a must for filtering and reporting down the road.
For your "Status" column, a simple dropdown list can create a clear, standardized workflow that everyone gets instantly.
- Idea
- Drafting
- Needs Review
- Approved
- Scheduled
Before you get too deep into the weeds with customization, it helps to have a solid grasp of the basics. This guide on how to create your social media content calendar is a great resource for building out that initial framework.
See Your Workflow at a Glance with Conditional Formatting
Another game-changer is conditional formatting. This handy feature automatically changes a cell's color based on its content, giving you a visual "heatmap" of your entire pipeline. For instance, you can set up simple rules for your Status column:
- Rows marked "Needs Review" turn yellow.
- Rows marked "Approved" turn green.
- Any row with a date that’s past-due turns red.
Suddenly, you can see exactly where things stand with a quick glance. It makes spotting bottlenecks or identifying posts that need your immediate attention incredibly easy, without having to read a single line of text. Your static sheet becomes a dynamic dashboard.
Just look at how different setups can be depending on who's using the calendar:
| User Type | Key Custom Columns | Focus of the Calendar |
|---|---|---|
| Solo Creator | Sponsorship Due Date, Affiliate Link, Call to Action Type | Efficiency and monetization tracking. |
| Small Business | Product/Service Feature, Customer Testimonial, Local Event | Driving sales and community engagement. |
| Marketing Agency | Client Name, Approver, Campaign Budget Code, Reporting Link | Client management, approvals, and accountability. |
See? The foundation is the same, but the specific columns you add adapt the calendar to what you actually do day-to-day. Don't be afraid to add, remove, or tweak columns as you go. Your calendar should evolve with your strategy—that's the whole beauty of building your own system.
Tailoring Your Calendar for Each Social Platform

A killer social media strategy is never about just blasting the same message everywhere. It’s about creating content that feels native and at home on each platform. Now that you have a solid foundation for your calendar, it's time to add the specific fields for Instagram, LinkedIn, TikTok, and wherever else your audience lives online.
This is what elevates your spreadsheet from a simple schedule to a strategic weapon. It guides you, almost automatically, toward creating content that clicks with each unique audience and algorithm. The real goal here is to make planning platform-native content the path of least resistance.
Customizing for Instagram's Visual-First World
Instagram is all about the visuals and its specific engagement formats. A generic "Copy" and "Media" column just won't cut it. To really plan effective Instagram content, you need to add dedicated fields that mirror how the platform actually works.
I always add these columns to my template for any post going to Instagram:
- Reel Audio/Trending Sound: This is non-negotiable for Reels. I create a column to paste the link to a trending audio right when I find it. This saves me from the last-minute scramble to find a sound just before posting.
- Carousel Slide Details: A single "Copy" field isn't enough for a 10-slide carousel. I use a dedicated column where I can outline the content for each slide, something like
Slide 1: Hook | Slide 2: Problem | Slide 3: Solution. It's a lifesaver. - Hashtag Sets: Don't just wing your hashtags. Create a column to plan and store different hashtag groups based on the topic. You might have sets for Product Education, Behind the Scenes, or Community Features.
Trust me, this small structural change makes a huge difference. It forces you to think about the entire package of an Instagram post, not just a caption and a pretty picture.
Adapting for LinkedIn's Professional Context
LinkedIn is a completely different beast. Your audience is there for career growth, industry news, and networking. Your calendar has to reflect this professional intent. That casual Instagram caption you wrote? It's going to fall flat here.
For LinkedIn, your template needs to encourage a much more strategic, targeted approach. I recommend adding columns like these:
- Target Audience: Who, exactly, is this post for? Get specific. Is it for
Marketing Managers in SaaS,Software Developers with 5+ years experience, orVPs of Sales? This focus sharpens your copy instantly. - Company Size: If you're in B2B, this is a goldmine. A message tailored for
Startups (1-50 employees)lands very differently than one for anEnterprise (>1000 employees). - Hook/Opening Line: On LinkedIn, the first two lines are everything. I dedicate a separate column just for the hook to make sure it’s strong enough to get people to click "...see more."
By adding these fields, your planning process becomes inherently more strategic. You’re no longer just writing a post; you’re crafting a targeted message for a specific professional persona, which is the key to winning on LinkedIn.
An organized social calendar isn't just a "nice-to-have" anymore; it's a core part of a high-performing strategy. I've seen companies boost their engagement rates by up to 20% simply by getting consistent and relevant with their planning.
Capturing TikTok's Trend-Driven Culture
Success on TikTok often comes down to speed and riding the wave of culture. Your calendar needs to be flexible enough to capture fleeting trends while still mapping out your planned, on-brand content. A "Trending Sound" column is a must, just like for Instagram Reels.
But I'd go a step further and add a "Trend/Challenge" column. This is where you can jot down the specific trend you're tapping into—whether it's a new filter, a dance, or a specific stitch/duet format. This not only helps with planning but also lets you look back and see which trends actually drove results.
This level of detail ensures your planning process naturally produces content that feels right for each channel. It's about proactively building a better strategy right into your workflow. As your system gets more advanced, you’ll probably want to explore the world of social media automation tools to connect your slick new calendar directly to your scheduling software.
Automating Your Workflow with No-Code Tools
A perfectly structured social media calendar is a great start, but its real power is unleashed when it stops being a static spreadsheet. Let's make it talk to your other tools. This is where you can reclaim hours of manual work by putting your content workflow on something close to autopilot using no-code automation platforms.
Imagine this: a team member changes a post's status to 'Approved' in your Google Sheet. A moment later, a complete draft—copy, visual link, and scheduled time—magically appears in Buffer or Later. This isn't some far-off dream; it's a simple automation you can build in minutes.
Connecting Your Calendar to Your Marketing Stack
Tools like Zapier and Make are the bridges that connect your calendar to the rest of your digital marketing world. They run on a simple "trigger-and-action" logic. A trigger is just an event that happens in one app (like updating a row in Google Sheets), and an action is what you want another app to do as a result (like creating a new draft post).
For example, a common pain point is the content request process. I've seen it a hundred times: post ideas get lost in a sea of emails, Slack messages, and random meeting notes. You can solve this with a simple Google Form that anyone—from clients to other departments—can use to submit requests.
This form could include fields for:
- The core message or idea
- The suggested platform
- A link to any relevant assets
- The desired publication date
When someone hits "submit," an automation can instantly create a new row in your social media calendar with the status set to "Idea" or "Needs Review." This cleans up your entire intake process, ensuring no great idea falls through the cracks. Your calendar becomes a dynamic, organized queue of potential content.
This simple visual breaks down the core flow, from nailing down your content pillars to scheduling posts and, finally, reviewing what worked.
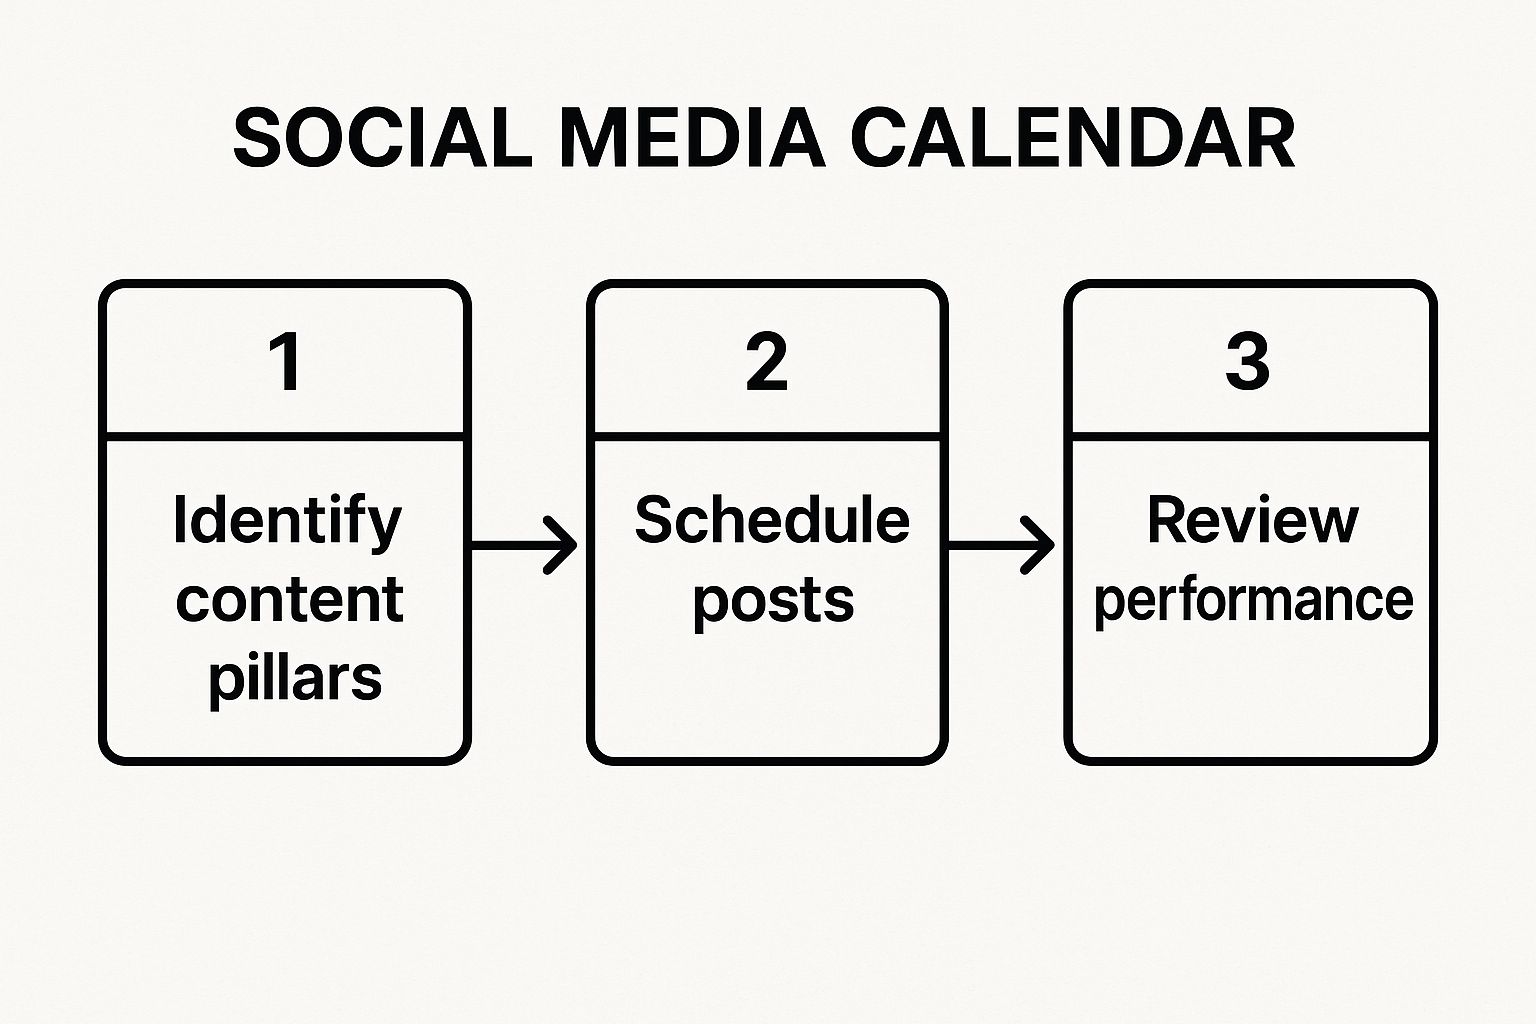
It shows how a structured process, from high-level strategy to performance review, forms a continuous loop of improvement. This is a cycle that automation can make significantly faster and more efficient.
Building Practical Automation Workflows
Let's walk through a real-world scenario. Your content creator finishes a post for LinkedIn and flips the status in your Google Sheet from "Drafting" to "Approved." That's your trigger.
An automation running quietly in the background detects this change. It then grabs the data from that specific row—the date, the LinkedIn copy, and the visual asset link—and performs an action: it creates a new draft post in your scheduling tool. The possibilities here are huge and can slash the administrative overhead that bogs down so many teams. For a deeper dive, check out our guide on automating social media for some more advanced techniques.
The real goal is to eliminate manual data entry and all those "copy-paste" tasks. Your calendar should be the single source of truth, and automation makes sure that truth is reflected across all your other marketing platforms without you lifting a finger.
Beyond just managing your internal team, streamlining your social media might also mean looking into options like digital marketing outsourcing. In that case, a well-automated calendar becomes an absolutely essential tool for seamless collaboration with external partners.
Ideas for Your First Automations
You really don't need to be a developer to build these powerful workflows. Here are a few practical ideas you can set up to get even more out of your custom social media calendar.
No-Code Automation Ideas for Your Calendar
This table outlines a few workflows, from simple to more advanced, that connect your calendar to the tools you already use every day.
| Workflow Trigger | Action | Tool (e.g., Zapier) | Benefit |
|---|---|---|---|
| New row in Google Sheet with status "Approved" | Create draft post in Buffer, Later, or LATE | Zapier, Make | Ends manual copy-pasting into your scheduler, saving time and preventing errors. |
| New Google Form submission for content requests | Create a new row in your calendar spreadsheet | Zapier, Make | Streamlines content intake, ensuring all ideas are captured and organized in one spot. |
| Post is published by your scheduling tool | Update status in Google Sheet to "Published" and add live link | Zapier, Make | Closes the loop, making it easy to track what's live and grab the URL for reports. |
| Weekly summary trigger | Send a Slack message with a list of posts "Needing Review" | Zapier, Make | Keeps the team in the loop and ensures approvals don't become a bottleneck. |
By connecting your calendar to your stack, you transform it from a passive planning document into an active participant in your marketing workflow. This automation layer is what turns a good social media calendar into an indispensable hub for your entire operation, saving you and your team countless hours each week.
Advanced Scheduling with API Integration
While no-code tools are fantastic for getting automations up and running quickly, there’s a point where you might hit a ceiling. For developers, technical marketers, or anyone who just wants total control, the next step is to work directly with a scheduling API.
This approach essentially turns your Google Sheet into a lightweight, user-friendly database. From there, you can build a completely custom social media engine that works exactly the way you want it to, without being boxed in by a third-party interface. Your social media calendar template evolves from a planning tool into the brain of a powerful, bespoke automation system.
The Logic of API-Driven Scheduling
So, how does this actually work? The concept is pretty straightforward: you write a script that reads approved content from your Google Sheet, formats it for a scheduling service, and sends it off via an API call.
Imagine a script that runs every hour. It scans your spreadsheet for new rows where the status is "Approved." When it finds one, it grabs the post copy, the image URL from your "Visual Asset" column, and the designated Scheduled Time. Then, it packages this data and sends a POST request to an API endpoint, like the one offered by LATE. Simple.
This method turns your spreadsheet into a surprisingly robust content management system (CMS) with a custom-built delivery pipeline. It's an ideal setup for agencies managing tons of clients or brands with complex, multi-stage approval workflows.
Of course, when you're working directly with APIs, it pays to build things the right way from the start. Brushing up on API integration best practices will save you a lot of headaches down the road by helping you build a more secure and efficient system.
Building Your Custom Connector
Let's get practical. You can pull this off with a variety of languages, but Python and JavaScript (using Node.js) are popular choices for interacting with both the Google Sheets API and a scheduling API. The general flow is the same no matter what you use.
Here’s a breakdown of the process:
- Authenticate: First things first, you need to securely connect to your Google Account and the scheduling API using API keys or OAuth.
- Fetch Data: Your script will query the Google Sheet to pull rows that meet your specific criteria. This could be as simple as
Status == 'Approved'andScheduled Timeis a future date. - Process and Format: Next, you'll loop through the rows you just fetched. For each one, you’ll extract the key pieces of data—the text, media links, and timing—and structure it into a JSON object that the scheduling API expects.
- Send Request: With your data properly formatted, you make an API call (this is almost always a POST request) to the scheduling endpoint, sending along your JSON payload.
- Update Sheet: Once you get a successful response from the API, it's a good practice to update the row in your Google Sheet. You could change the status to "Scheduled" and maybe even paste in the post ID that the API returns. This is super useful for tracking and future reference.
Here’s a conceptual look at what the JSON payload—built from a single row in your sheet—might look like before you send it off:
{ "postText": "Here's our latest feature announcement!", "platforms": ["linkedin", "twitter"], "mediaUrls": ["https://your-cdn.com/image.jpg"], "scheduledAt": "2024-11-15T10:00:00Z" }
![https://your-cdn.com/image.jpg"]](https://your-cdn.com/image.jpg%22%5D)
This direct, code-based approach gives you incredible flexibility. You can build custom error handling, smart retry logic if a post fails, or even integrate with your own internal analytics tools. These are things that are often difficult, if not impossible, with off-the-shelf no-code platforms. If you want to see how this applies to specific platforms, you can find some great technical detail in a comprehensive guide to Bubble's API connector.
Ultimately, creating this custom integration is the final step in elevating your social media calendar template from a simple spreadsheet into a truly automated and scalable content machine.
Common Questions About Custom Calendars
 Once you start using your new social media calendar, you'll probably run into a few questions. That's totally normal. Moving from a static plan to a living, breathing workflow always has a bit of a learning curve.
Let's walk through some of the most common issues people face. Getting these operational details sorted out now will save you a ton of headaches down the road.
How Far in Advance Should I Plan My Content?
I always recommend planning your core content two to four weeks in advance. This gives your team a comfortable buffer for all the creative work, from copywriting and design to getting final approvals. It’s the best way to avoid that last-minute scramble that almost always results in rushed, mediocre posts.
But here's the key: your calendar can't be set in stone. It needs to be flexible. You have to leave room to jump on trending topics, memes, or industry news as it happens.
My advice? Review the calendar weekly. This lets you make smart tweaks based on what's performing well or what's happening in the world. Of course, for bigger things like product launches or holiday campaigns, you'll want to plan much further out—sometimes a full quarter ahead.
What Is the Best Way to Manage Visuals with This Template?
This is a big one. Whatever you do, don't try to embed image files directly into your spreadsheet. It's a surefire way to create a slow, bloated file that nobody wants to use.
The best approach is to use a cloud storage system like Google Drive or Dropbox. Create a dedicated folder system and organize your final, approved assets by month, campaign, or even by platform.
Then, in your calendar's "Visual Asset" column, you just paste the direct, shareable link to the file. Easy.
This one simple step keeps your calendar template lightweight and fast. More importantly, it gives everyone on the team instant access to the right high-res creative. No more "Hey, where's the final version of that graphic?" messages.
How Can I Use This Calendar to Collaborate with My Team?
Your new calendar is built to be a collaboration hub, and Google Sheets is perfect for this. That "Status" column is really the heart of your team's workflow. When you use a dropdown with clear options—like 'Draft,' 'Needs Review,' 'Approved,' and 'Scheduled'—everyone can see exactly where a post is in the pipeline.
To keep feedback clean, get your team to use the comment feature religiously. They can tag each other directly on a post's row to ask questions, suggest edits, or give the final thumbs-up.
This keeps all the chatter and approvals tied directly to the content it's about. The whole history of a post, from a rough idea to the final approval, is right there in one place. It’s an incredibly simple but effective way to keep projects moving smoothly and eliminate any "who approved this?" confusion.
Ready to turn your slick new calendar into a fully automated content machine? With the LATE unified social media API, you can connect your spreadsheet directly to seven major platforms and start scheduling posts programmatically. It's time to ditch the manual work and build the custom workflow you've always wanted. Start building with LATE today.