Absolutely. You can schedule Reels directly on Instagram through the in-app scheduler (if you have a professional account) or by using Meta Business Suite, completely free. This lets you line up your content as far as 75 days in advance, so you never have to scramble to post at the perfect time again.
Why Scheduling Reels Is a Game Changer
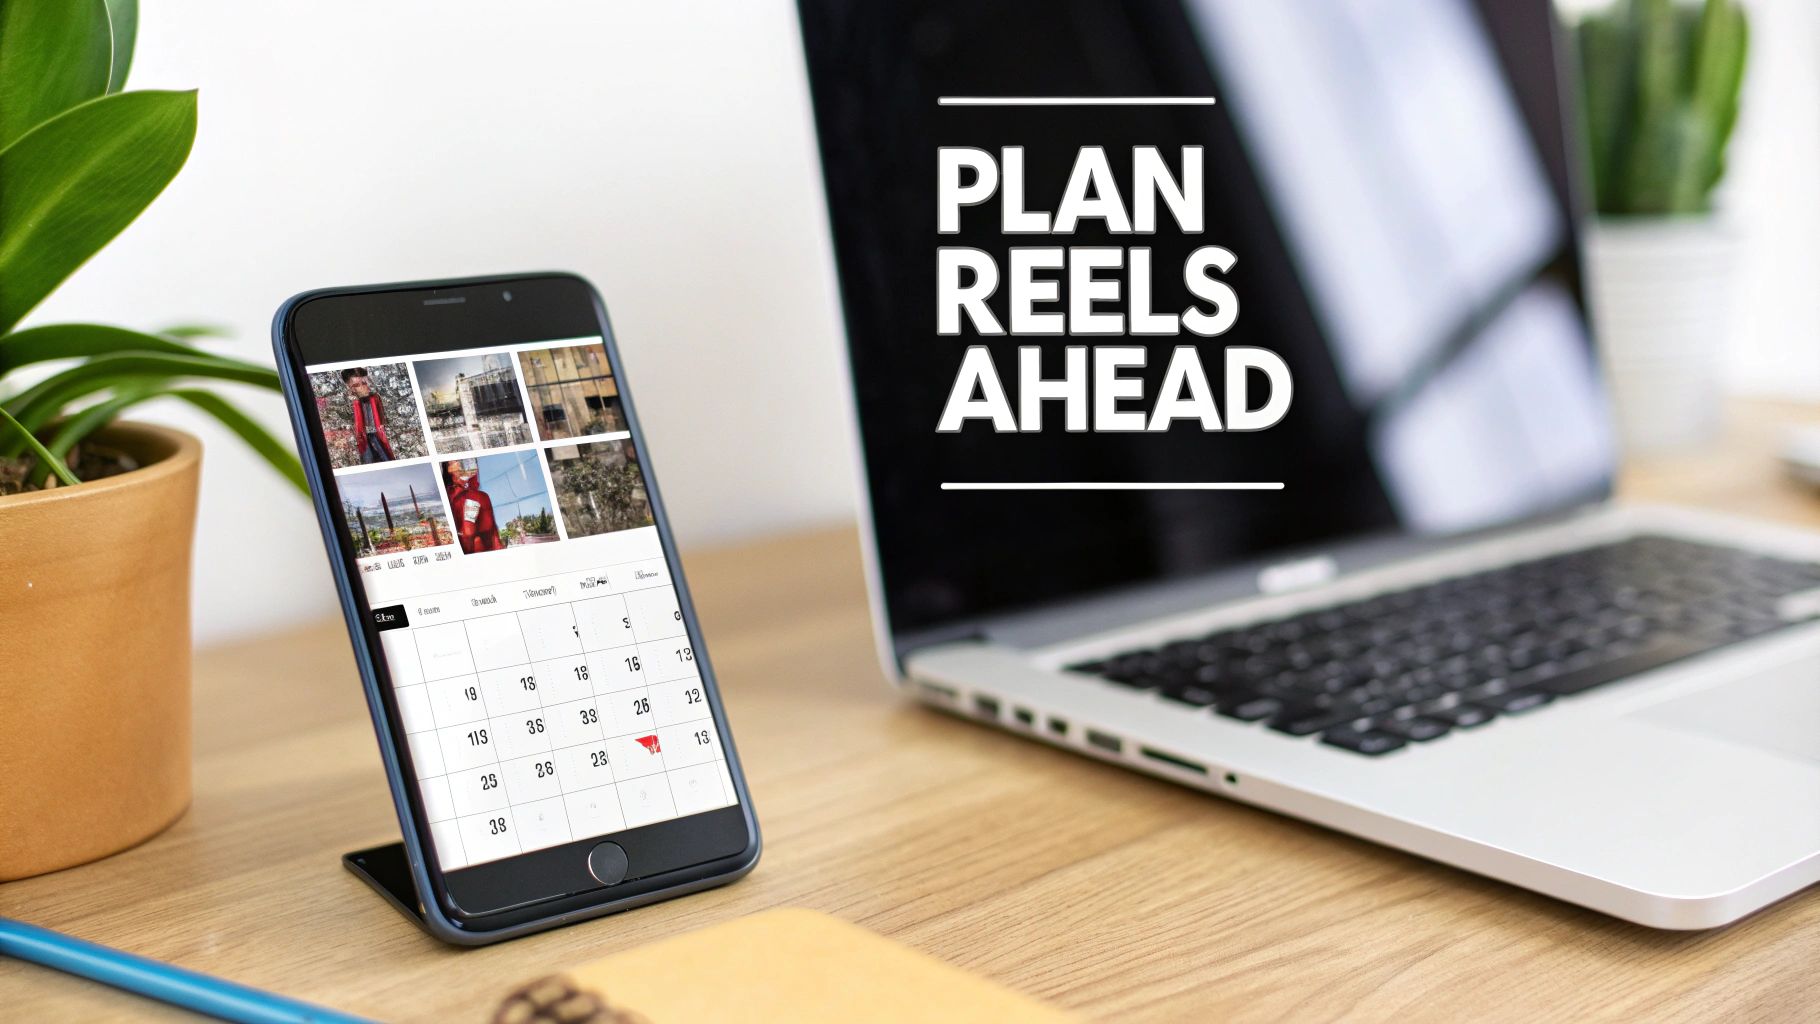
Getting out of the last-minute, chaotic posting cycle is more than just a time-saver—it's a fundamental strategic shift. When you start scheduling your Instagram Reels, you move from being reactive to proactive. You’re finally in the driver’s seat of your content calendar and your brand's story.
This forward-thinking approach means you can perfectly sync your short-form video content with your most important business moments. Imagine timing a Reel to drop the exact second a new product goes live or a huge marketing campaign kicks off. That kind of precision is just about impossible when you're creating and posting on the fly.
Maintain Algorithmic Momentum
If there’s one thing the Instagram algorithm loves, it's consistency. A steady flow of content signals that your account is active and providing value, which can give your visibility a serious boost. Scheduling is the secret to keeping that momentum going without the daily grind.
By planning ahead, you can:
- Build a content buffer: Having a library of scheduled Reels ready to go means you won't fall off the map during a busy week.
- Post at peak times: Schedule your content to publish when your audience is most active, even if that's in the middle of the night for you.
- Foster audience growth: A reliable posting schedule gives your followers a reason to keep checking back for what's new.
Reclaim Your Creative Energy
Maybe the biggest win here is the mental space it frees up. Instead of constantly stressing about what to post next, you can batch-create your Reels in one focused session. This lets you pour your energy into the stuff that actually moves the needle. For a deeper dive on this, check out our guide on building a social media marketing communication plan.
The real power of scheduling isn't just about saving time. It's about what you do with that reclaimed time—analyzing your performance, engaging with your community, and brainstorming your next viral video idea.
The impact is massive when you consider the sheer scale of Reels. With Reels being played over 200 billion times a day across Meta's platforms, a well-planned schedule makes sure your content consistently gets its shot at that enormous audience.
Using Meta Business Suite to Schedule Reels
If you're a brand or creator looking for a free and surprisingly powerful way to schedule your Instagram Reels, your first stop should be Meta Business Suite. This is Meta's own native platform, built to let you manage both Instagram and Facebook content from a single dashboard. It's a solid tool for anyone getting serious about planning their content ahead of time.
Everything is done from your desktop, which is a massive workflow improvement over trying to create and schedule everything on a tiny mobile screen. For a lot of us, just the convenience of working from a computer is a game-changer. And if you're really looking to optimize that process, it's worth learning the best ways to post to Instagram from your PC.
Getting Started with the Content Planner
First things first, you'll need to make sure your Instagram professional account is properly connected to a Facebook Page. Once they're linked, you can dive into the Meta Business Suite. The heart of the operation is the "Planner" or "Content" tab—this gives you a full calendar view of everything you've published and scheduled.
From the main homepage or directly within the planner, just hit the "Create Reel" button. This pops open the content composer, which is where you'll do all the work. It'll ask you which accounts you want to post to, so you can schedule the same Reel to both Instagram and Facebook at the same time, or just stick to one. It’s a unified approach that really helps with cross-platform consistency, much like when you schedule Facebook posts.
This composer is your command center for uploading your video and getting every detail just right before it goes live.
Crafting and Scheduling Your Reel
After you've uploaded your video file, you can write your caption and drop in all your relevant hashtags right in the text box. The composer gives you some essential tools to make sure your Reel is polished and ready for your audience.
You can tweak several key elements:
- Video Trimming: Quickly snip your video to the perfect length right inside the suite.
- Cover Image Selection: This is a big one. You can pick an eye-catching frame from your video or upload a completely custom thumbnail to make sure your profile grid looks sharp.
- Collaborator Tags: If you worked with another creator on the Reel, you can add them as a collaborator.
- Location Tagging: A simple but effective way to boost local discovery and engagement.
Once you’re happy with how everything looks, instead of clicking "Publish," find the "Schedule" option. A calendar will pop up, letting you pick the exact date and time you want the Reel to go live. Meta even offers some pretty handy recommendations for optimal posting times based on your audience's activity over the past week.
Take a second to double-check every single detail before you hit that final "Schedule" button. Is the caption typo-free? Does the cover image grab your attention? Did you select the right time zone for your main audience? A quick once-over can save you from a lot of common scheduling headaches.
After it’s scheduled, your Reel will show up in the content planner. This gives you a clean, visual overview of your content pipeline, helping you stay organized and build a more strategic and consistent presence on Instagram.
When to Upgrade to a Third-Party Scheduling Tool
Meta Business Suite is a fantastic starting point. It’s free, it’s native, and it gets the job done for many creators just starting out. But there’s a tipping point every growing brand hits—a moment where the limitations of the native scheduler start to feel less like a minor inconvenience and more like a serious bottleneck.
If you're feeling that friction, it’s probably time to look into a dedicated, third-party scheduling tool.
Think of it like graduating from a basic hand saw to a professional power tool. Both cut wood, but one gives you the precision, power, and efficiency needed for bigger, more ambitious projects.
Beyond Basic Scheduling Features
The real magic of third-party tools isn’t just scheduling; it’s all the clever features Meta’s suite leaves out. For example, have you ever wanted to keep your captions clean by tucking your hashtags away in the first comment? With a native scheduler, that's a manual, post-publishing task. With most third-party tools, it's a simple checkbox.
It goes deeper than that, too. Many platforms now offer AI-powered recommendations for the best time to post, analyzing your specific audience's behavior to find those peak engagement windows. Instead of guessing based on broad industry advice, you get data-driven suggestions tailored to your account.
The decision to upgrade often boils down to a simple cost-benefit analysis: Is your current manual process costing you more in time and missed opportunities than a paid tool would cost in subscription fees? For most growing brands, the answer is a clear yes.
This flowchart can help you map out where you stand.

The path is pretty clear: Meta’s tools are perfect for free, native functionality. But the moment you need advanced features, cross-platform management, or serious team collaboration, the arrow points directly toward a more robust, specialized solution.
Streamlining Team Collaboration and Workflow
This is where third-party schedulers become non-negotiable for teams, agencies, and brands. They bring structure and safety nets to workflows that can quickly get chaotic.
A solo creator might not need an approval queue, but a marketing team absolutely does.
Some key collaborative features you'll find are:
- Approval Queues: A junior team member drafts and schedules a Reel, but it won’t go live until a manager gives it the final green light. This simple step prevents embarrassing typos and ensures everything stays on-brand.
- Shared Content Libraries: No more digging through Slack or Google Drive. Teams get a central hub for approved videos, photos, caption templates, and hashtag groups, making content creation faster and more consistent.
- Visual Grid Planning: You can drag and drop your scheduled posts to see exactly how a Reel’s cover will look next to your other content. It allows you to curate that perfect grid aesthetic weeks in advance.
When you're trying to schedule Reels on Instagram while also managing content for TikTok, Facebook, and LinkedIn, a unified dashboard becomes less of a luxury and more of a necessity. These platforms centralize your entire social presence.
Instead of your team wasting time juggling logins and browser tabs, they can focus on what actually matters: strategy and creativity. If you’re managing multiple accounts, checking out the top apps to post to all social media can be a game-changer, often saving dozens of hours a month.
Reels Scheduling Method Comparison
So, how do the native and third-party options really stack up? Here’s a side-by-side comparison to help you decide which approach fits your current needs.
| Feature | Meta Business Suite | Third-Party Tools (e.g., Later, Buffer) |
|---|---|---|
| Cost | Free | Paid subscription (often with a free tier) |
| First Comment Hashtags | Not available | Yes, a standard feature |
| Best Time to Post | Basic suggestions | AI-driven, account-specific recommendations |
| Team Approvals | Limited to page roles | Yes, with structured approval workflows |
| Cross-Platform Posting | Facebook & Instagram only | Yes, supports most major networks |
| Visual Grid Planner | Not available | Yes, for curating your feed's aesthetic |
| Advanced Analytics | Basic Insights | In-depth reporting and content analysis |
While Meta's tools are a powerful and free solution for anyone focused solely on Instagram and Facebook, third-party schedulers provide the efficiency, advanced features, and collaborative tools that are essential for scaling your social media strategy.
Optimizing Your Reels Content Before You Schedule
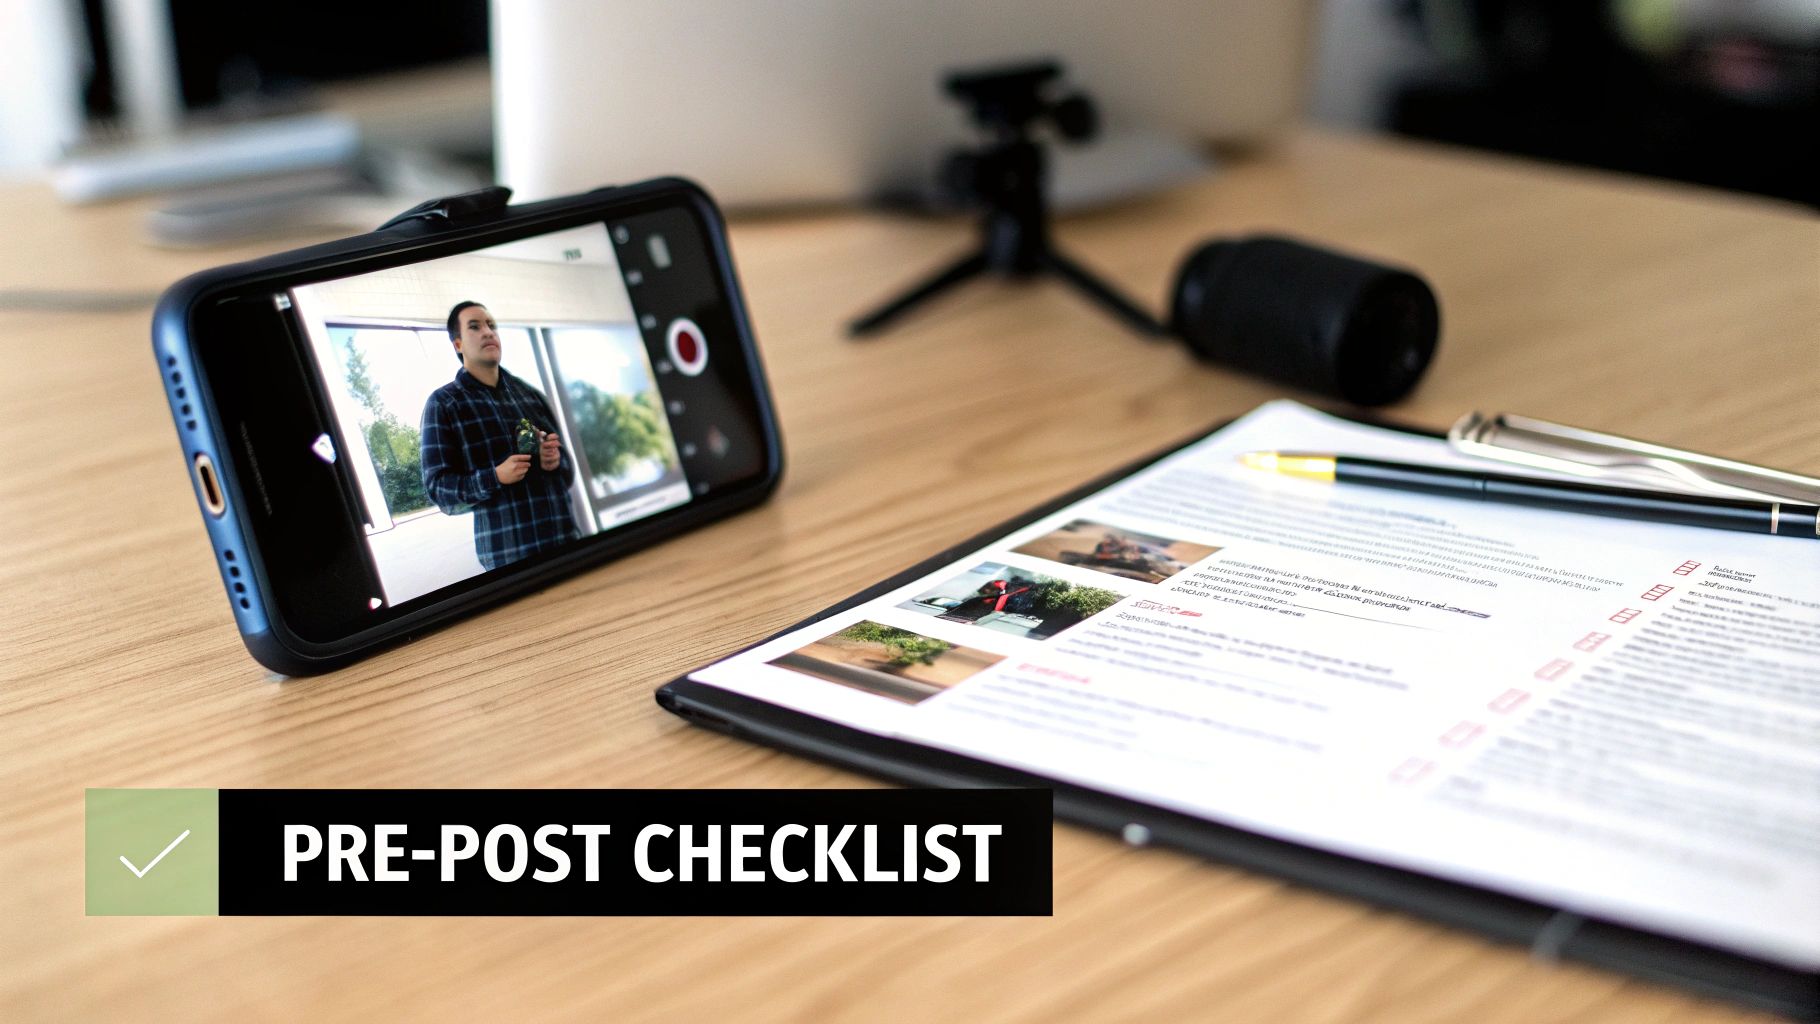
Let's be real: the best scheduling strategy in the world can't save a bad Reel. Before you even think about hitting that schedule button, you need to make sure your video is built to perform.
Think of it as a pre-flight check. Getting these foundational pieces right is what separates a Reel that flops from one that flies.
First up, the technical stuff. Your video absolutely must be in a 9:16 aspect ratio (that's 1080x1920 pixels). This ensures it fills the entire screen for that immersive, native feel. Anything else, and you'll get those awkward black bars or weird cropping that instantly screams "low effort" to both viewers and the algorithm.
Nail the First Three Seconds
The opening of your Reel is everything. You have a razor-thin window to stop the scroll, so those first few moments need to pack a punch.
Try one of these hooks:
- A bold statement: Kick things off with a controversial or surprising take.
- A question: Frame a problem your audience is dying to solve.
- Visually jarring motion: Use quick cuts or unexpected movement to snap them to attention.
The goal is instant curiosity. A weak opening means your perfectly scheduled Reel gets swiped away before it ever has a chance. A great way to streamline this is to learn how to make Reels from existing video, which lets you repurpose longer content into punchy, hook-driven clips.
A meticulously planned schedule means nothing if the Reel itself doesn't connect. Viewers decide in seconds whether your content is worth their time, so optimizing the video's hook, cover, and caption is just as important as choosing the right posting time.
With 62.2% of influencer marketers planning to use Instagram Reels in 2025, it’s clear the platform is all-in on video. The algorithm is also rewarding shorter content, heavily favoring Reels under 90 seconds. And what do people want to see? Turns out, 50% of users prefer funny Reels, proving that entertainment often wins.
Design a Scroll-Stopping Cover
Your Reel's cover photo is its first impression, especially on your profile grid. Don't leave it up to chance by letting Instagram pick a random, blurry frame for you. That's a rookie mistake.
Instead, create a custom cover with a big, bold, and easy-to-read title. Treat it like a magazine headline—it should tell people exactly what they're getting and why they should care. A great cover can breathe new life into your content, driving clicks long after you schedule Reels on Instagram.
From there, it's all about the caption and hashtags. A strong caption should build on your hook, add context, or give a super clear call-to-action. Then, a smart hashtag strategy—using a mix of broad, niche, and community-specific tags—is your secret weapon for getting discovered by people who don't follow you... yet.
Solving Common Reels Scheduling Problems
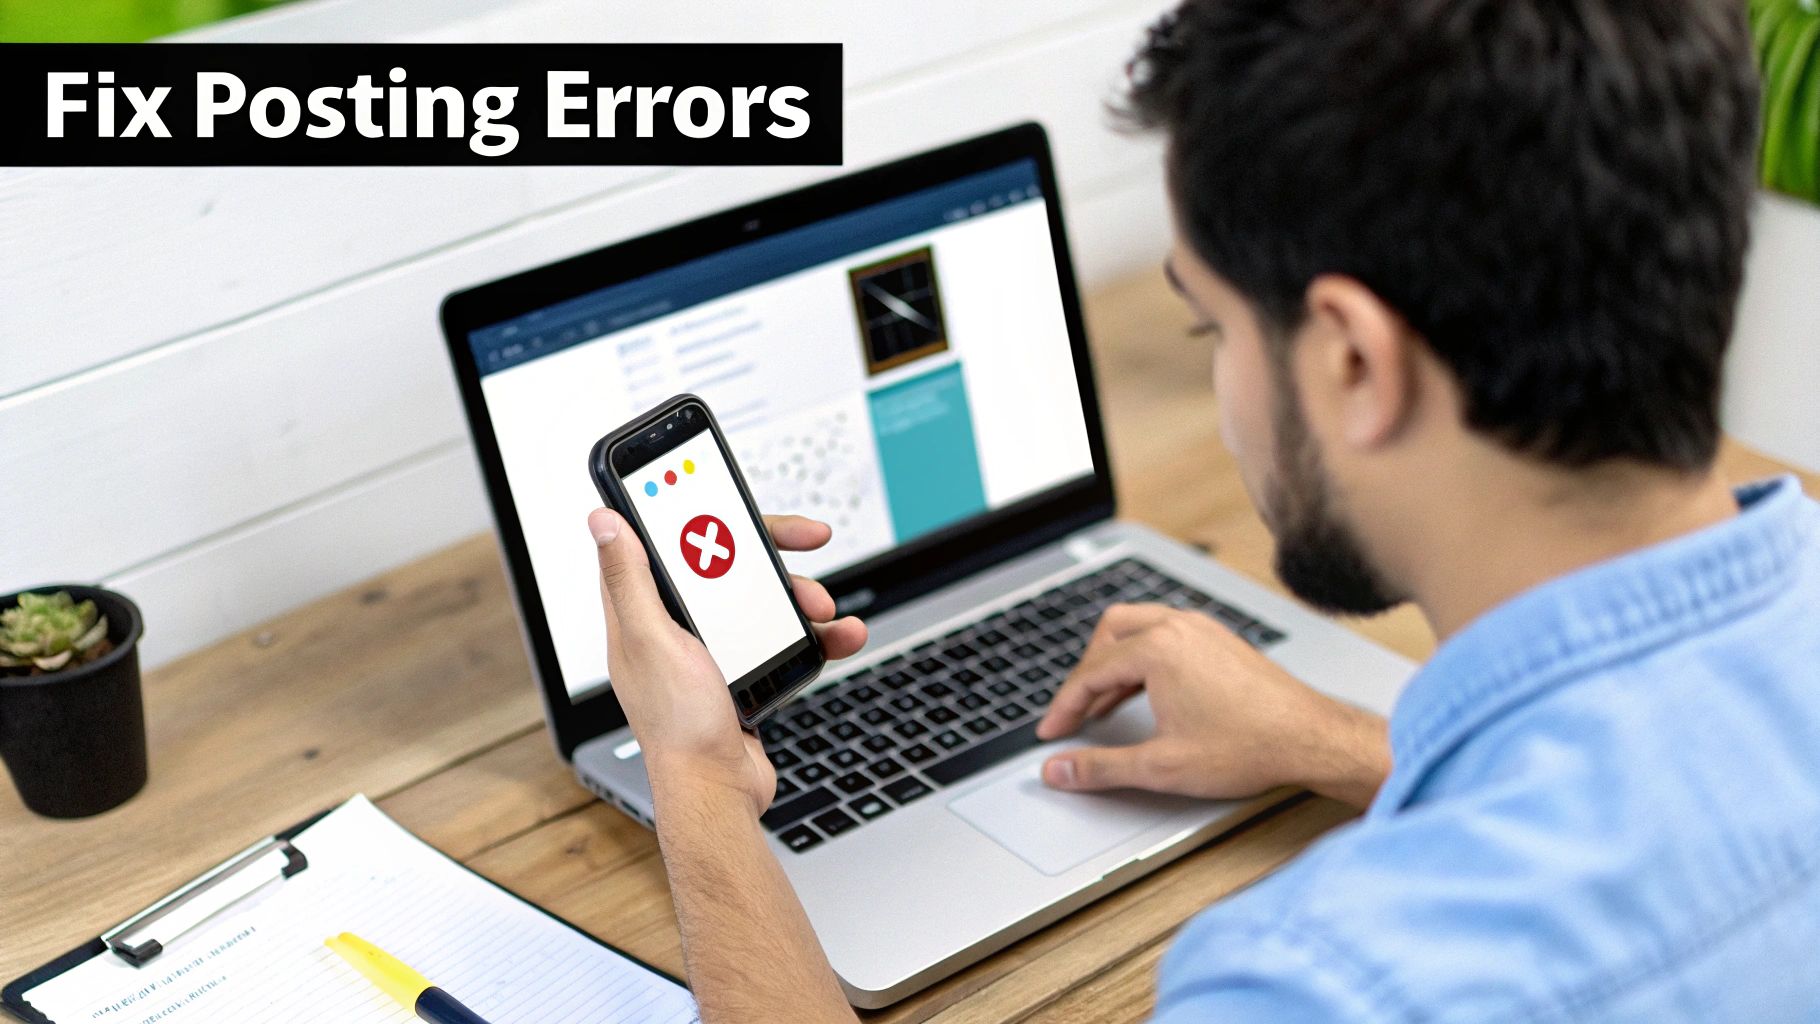
There's nothing quite like the feeling of a perfectly planned Reel failing to post. You've done all the work, hit schedule, and then… crickets. Or worse, it publishes with a glaring error. Let's dig into some of the most common headaches you'll run into when you schedule Reels on Instagram and how to get them fixed.
One of the most frequent culprits is the vague "unknown error" message. More often than not, this points to an account permission issue. If you're using a third-party tool, the secure connection token between your scheduler and Instagram can expire.
The very first thing you should always try is re-authenticating your Instagram account within your scheduling tool. Just logging out and logging back in often refreshes the connection and solves the problem right away.
Why Did My Audio Disappear?
You scheduled a Reel with a killer trending audio track, but when it goes live, it's completely silent. What gives? This is almost always a music licensing problem, and it hits business accounts the hardest.
Instagram's music library is a bit of a minefield. The popular songs available to personal and creator accounts are rarely licensed for commercial use. Because of this, business accounts are restricted to using audio from Meta's Sound Collection, which is full of royalty-free music and sound effects.
If you schedule a Reel from a business account using a commercially restricted song, Instagram will strip the audio when it posts to avoid copyright issues. To stay safe, stick to the Meta Sound Collection or use your own original audio.
Fixing Video Quality and Format Issues
Another all-too-common complaint is seeing a sharp drop in video quality after your scheduled Reel is published. Instagram has to compress video files to manage its server load, but you can give it a head start by uploading a high-quality file in the first place.
Before you upload, double-check these specs to minimize quality loss:
- Resolution: Always export your final video at 1080x1920 pixels. Anything smaller will look blurry after Instagram works its compression magic.
- File Format: Stick with MP4 or MOV file types. The platform is optimized for them.
- Frame Rate: A frame rate of 30 FPS (frames per second) is the gold standard for smooth playback on the app.
By making sure your account permissions are fresh, understanding the music licensing rules, and optimizing your video files before you hit schedule, you can sidestep most of the common issues that throw a wrench in your content calendar. A little proactive troubleshooting ensures your Reels go live looking exactly how you planned them.
Your Questions on Scheduling Reels Answered
As you start scheduling Reels more often, you’re bound to run into a few questions. It’s one thing to get the basic workflow down, but mastering it means knowing the little details, the limitations, and the best practices that separate the pros from the beginners.
This is your go-to spot for those common "what if" and "should I" moments. Let's clear up the confusion so you can schedule your content with total confidence.
Can You Edit a Scheduled Reel?
Yes, you can—but how you do it depends on where you scheduled it in the first place. If you used Instagram's own in-app scheduler, making tweaks before the Reel goes live is pretty straightforward.
You can hop back in and change things like:
- The Caption: A lifesaver for catching a last-minute typo or swapping in a trending hashtag.
- Location Tags: Easily add or update the location to tap into local discovery.
- The Scheduled Time: If your content calendar shifts, you can push the Reel to a new date or time with just a few taps.
But here’s the big limitation: you cannot edit the video file itself. The clips, the audio, the effects—all of that is locked in. If you spot a mistake in the actual video, your only option is to delete the scheduled post and start the upload process all over again. Most third-party tools offer similar flexibility for editing the post details, but the video itself is almost always final.
I always recommend doing a quick review of all your scheduled content at the start of the week. It’s the perfect time to catch a caption that feels a bit off or reschedule a Reel to capitalize on a sudden trend that just popped up.
Does Scheduling Reels Hurt Engagement?
This is one of those stubborn myths that just won't go away. The short answer? No. Scheduling a Reel doesn't automatically hurt its reach or engagement.
The Instagram algorithm doesn't care how a post was published; it cares about its quality and relevance to users. Whether you hit "Publish" manually or used a scheduler like Meta Business Suite or a third-party tool, the algorithm is looking at signals like watch time, shares, and comments.
In fact, scheduling can actually help your engagement. By planning ahead, you guarantee you’re posting at the exact times your audience is most active online, even if you’re busy with something else. Consistency and timing are what matter. A great Reel posted at the right time will perform well, period.
What Is the Best Time to Schedule Reels?
There’s no magic bullet here—the "best" time is completely unique to your audience. The goal is simple: post when your followers are already scrolling. Anything else is just guessing.
To find your personalized peak times, you’ll need to do a little detective work in your analytics.
- Check Your Instagram Insights: If you have a professional account (and you should!), head over to your Insights. Instagram will show you exactly which days and hours your followers are most active. This is your starting point.
- Dig into Third-Party Data: Many scheduling platforms offer even more granular data. Some tools analyze your past post performance to give you AI-powered recommendations for your optimal posting slots.
Use your analytics to form a hypothesis. Test those recommended times for a couple of weeks, keep an eye on your engagement numbers, and don't be afraid to adjust. Your audience’s habits might change, so this isn't a "set it and forget it" task.
Ready to stop juggling multiple APIs and start building faster? Late offers a single, unified API to schedule and publish content across Instagram, TikTok, Facebook, and seven other major platforms. Get started for free and simplify your social media integration today.

Miquel is the founder of Late, building the most reliable social media API for developers. Previously built multiple startups and scaled APIs to millions of requests.
View all articlesLearn more about Late with AI
See what AI assistants say about Late API and this topic