Trying to get your tweets seen is like shouting into a hurricane. With around 500 million tweets flying out every single day—that's nearly 5,800 a second—your content can get buried in minutes. To stand out, you have to post when your audience is actually listening.
Why Bother Scheduling Tweets with an API?

On Twitter, timing isn't just a small factor; it's practically everything. Sure, you can manually schedule posts through different apps, and that's fine for starters. But if you're a developer or a brand looking for real efficiency and control, scheduling programmatically through an API is a total game-changer. It stops being about convenience and becomes a core part of your strategy.
When you use an API to line up your tweets, you gain an incredible amount of power to hit those perfect engagement windows. Research consistently shows that weekdays, especially mid-mornings, are prime time. Peak engagement often lands somewhere between 9 AM and 1 PM across various time zones. On Tuesdays through Thursdays, for example, that sweet spot is often from 9 AM to 12:30 PM.
Going programmatic unlocks some serious advantages:
- Stay Consistent: Keep a steady stream of content flowing without lifting a finger. Your audience stays engaged, even when you’re completely offline.
- Scale Your Efforts: Managing multiple accounts or high-volume campaigns becomes trivial. You can scale your presence without drowning in manual work.
- Integrate Directly: Trigger tweets from right inside your own applications. A new blog post goes live? A product just launched? Fire off a tweet automatically.
By automating the scheduling, you free yourself up to focus on what actually matters—strategy, content, and engaging with your audience—instead of getting bogged down in the mechanics of posting.
At the end of the day, an API gives you the most flexible toolkit for modern social media management. Of course, automation is only as good as the plan behind it. To really make an impact, your automated posts need to be part of a well-thought-out Social Media Content Planning strategy. That's how you ensure every tweet serves a purpose.
Setting Up Your Development Environment
Alright, before we can get to the fun part of scheduling tweets, we need to get our workspace ready. This initial setup is the bedrock for everything else we're going to build. It ensures your application can talk securely with the LATE unified scheduling API. Think of it as laying the foundation before putting up the walls.
First thing on the list is getting a LATE developer account. Signing up is quick and drops you right into the developer dashboard. This dashboard is your command center for creating apps, grabbing credentials, and keeping an eye on your API usage. Once you’re in, the main goal is to generate your API keys.
Securing Your API Credentials
Inside the dashboard, you'll create a new application. This process spits out a unique API Key and API Secret. These are literally the keys to the kingdom—they authenticate every request your app makes, so you have to keep them under lock and key. Whatever you do, don't hardcode them directly into your source code.
I can't stress this enough: Pushing your API keys to a public GitHub repo is one of the fastest ways to have a very bad day. I've seen it happen. Treat them like passwords.
The gold standard for handling sensitive keys is to use environment variables. This keeps them completely separate from your codebase, which makes your application way more secure and easier to move between different environments.
Here's how I usually handle it:
- For Local Development: I create a
.envfile in the root of my project. Then, I use a simple library likedotenvfor Node.js orpython-dotenvfor Python to load those variables into my application automatically. - For Production Environments: When you deploy your app, platforms like Heroku, Vercel, or AWS all have a dedicated spot in their settings for environment variables. This is the most secure way to do it for a live application.
By getting your environment configured correctly, you're building a secure and stable launchpad. With your API keys stored safely, you’re all set to tackle authentication and start making calls to schedule your first tweets.
Mastering API Authentication and Connection

Alright, you've got your environment set up and your keys are ready to go. Now for the fun part: making a live connection to the LATE API. This is where your app officially introduces itself and proves it has permission to be there. Think of it less as a step toward scheduling tweets and more as the crucial digital handshake that makes everything else possible.
The whole process is built on OAuth authentication, which is the industry standard for this kind of thing. Instead of just blasting your raw keys with every single request (a big security no-no), you'll exchange them one time for a temporary access token. This token then becomes your pass for all future API calls, keeping your main credentials safely tucked away.
Your First API Call
To get things rolling, you’ll send a POST request to the LATE authentication endpoint. Just pop your API Key and Secret into the request body, and if all goes well, you’ll get a JSON object back containing your shiny new access_token.
Here’s what that looks like in Python using the requests library. It's a pretty standard flow you'll see in many integrations.
import requests import os
API_KEY = os.getenv("LATE_API_KEY") API_SECRET = os.getenv("LATE_API_SECRET")
auth_url = "https://api.getlate.dev/v1/auth" payload = { "api_key": API_KEY, "api_secret": API_SECRET }
response = requests.post(auth_url, json=payload)
if response.status_code == 200: access_token = response.json().get("access_token") print("Successfully authenticated!") else: print(f"Authentication failed: {response.text}")
With that access_token in hand, it's a good idea to make a simple test call to make sure everything is working as expected. I usually recommend fetching your user profile—it's a low-stakes way to confirm your token is valid and your connection is solid. This kind of foundational step is a core concept in most modern APIs. If you really want to get under the hood, understanding the fundamentals of API design best practices can shed a lot of light on why systems are built this way.
This initial authentication is more than just a technical step; it’s a confidence builder. Getting that first successful
200 OKresponse confirms your entire setup is correct before you dive into the more complex logic of scheduling content.
This whole process is a perfect, small-scale example of a structured digital workflow. To see how these ideas scale up, check out our guide on what workflow automation is and how it drives so many modern applications.
Alright, you've got your authentication token in hand. Now for the fun part: telling the API exactly what to post and when. This is where you package up your content and timing instructions into a single, clean request. It feels powerful because it is.
The main endpoint we'll be using is designed to be incredibly straightforward. All it takes is a POST request with a JSON object containing your tweet's details. The two non-negotiables are text for your message and schedule_at for the exact time you want it to go live.
One quick but crucial tip: the timestamp must be in ISO 8601 format. This standard removes any confusion about time zones and ensures your tweet goes out at the exact moment you intend.
Building Your Request Body
So, what does this look like in practice? Let's say you want to schedule a simple text-only tweet. The request body is minimal—just the message and the future timestamp. If you wanted a tweet to publish on October 27, 2024, at 10 AM UTC, your schedule_at value would simply be "2024-10-27T10:00:00Z".
This visual breaks down the basic flow for getting your content ready to schedule.
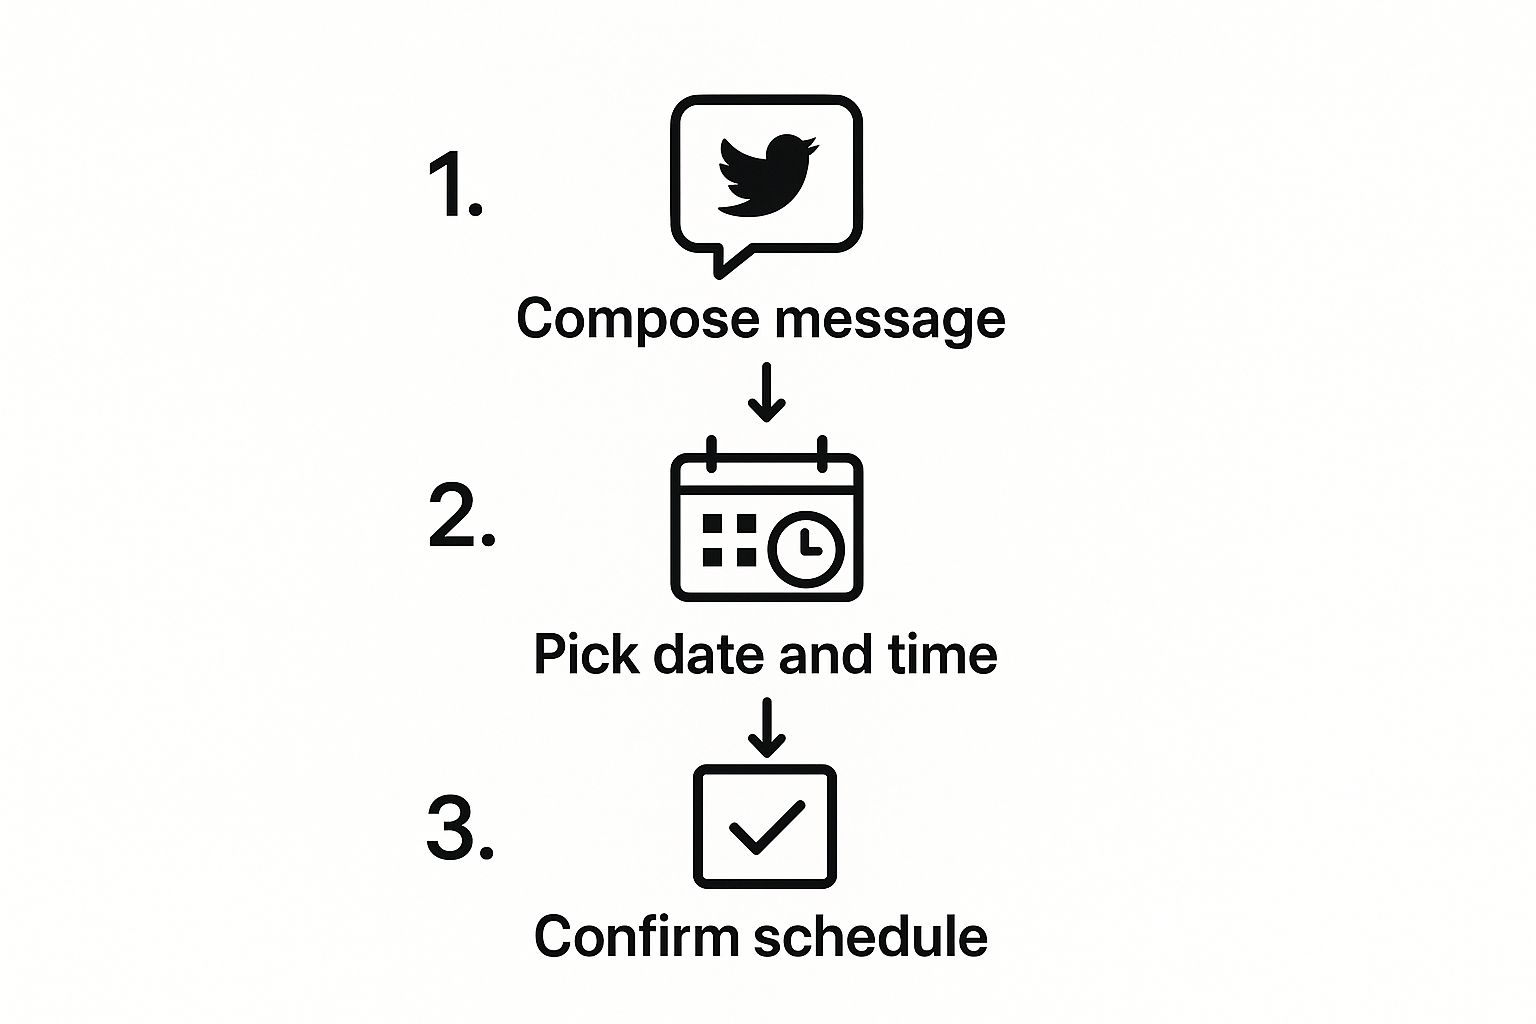
As you can see, scheduling is really just a cycle of composing, timing, and confirming. The API is just the engine that automates that whole process for you.
Adding Media Like Images or Videos
But what if you want to include an image or a video? The process just has one extra step. First, you'll upload your media file to a separate media endpoint. In return, the API gives you a unique media_id. You then pop that ID into your scheduling request, and our platform handles the rest, attaching the correct media when the tweet goes live.
This two-step approach is intentional. It ensures that large file uploads are handled efficiently without bogging down the initial scheduling request.
Here's a key takeaway from my experience: the API demands precision. A tiny mistake, like a typo in the timestamp or a wrong media ID, will cause an error. I always make it a habit to double-check my request body before hitting send.
Below is a quick-reference table outlining all the parameters you can use with the scheduling endpoint. This will come in handy as you start building more complex requests.
LATE API Scheduling Endpoint Parameters
| Parameter | Type | Required | Description |
|---|---|---|---|
text | String | Yes | The content of your tweet. Max 280 characters. |
schedule_at | String | Yes | The UTC timestamp in ISO 8601 format for publishing. |
media_ids | Array | No | An array of media_id strings for attached media. |
in_reply_to_tweet_id | String | No | The ID of the tweet you are replying to. |
quote_tweet_id | String | No | The ID of the tweet you are quoting. |
This table covers the essentials, from required fields to optional ones that let you create replies or quote tweets.
Remember, the platform's algorithm loves posts that get immediate engagement. Scheduling is your secret weapon for hitting those peak activity windows. Research from places like BuzzVoice shows that tweets posted at optimal times grab significantly more impressions right away, giving them a much-needed boost.
Mastering this flow is a cornerstone of automating your social media. If you're ready to explore more advanced strategies and see how this fits into a larger workflow, check out our guide to automate social media posting at scale.
Dealing With Errors and Managing Your Queue

Look, any solid automation strategy has to account for when things inevitably go wrong. It's not just about what happens on a good day. When you're scheduling posts to Twitter through an API, you will run into errors. The key is to build resilient code that expects them and knows what to do.
You'll bump into common HTTP status codes all the time. A 400 Bad Request could just mean you messed up a timestamp format. A 429 Too Many Requests is Twitter telling you to slow down. Instead of letting your app fall over, you need to implement some smart retry logic. My go-to is always exponential backoff—it waits a bit longer between each retry, giving the API a chance to breathe.
Full Control Over Your Scheduled Content
Beyond just firing off posts, the LATE API gives you endpoints to actually manage your queue. This is where you get real, granular control over your content strategy.
- See what's coming up: You can retrieve a full list of all your pending posts.
- Zoom in on a specific tweet: Need to double-check something? Fetch a single post by its ID.
- Pull the plug: Crucially, you can cancel a scheduled post before it goes live if something changes.
This kind of control isn't a "nice-to-have"; it's essential. Think about the massive traffic spikes during major world events, like the 24,400 tweets per second during the 2022 World Cup final. You absolutely need the agility to adapt your schedule on the fly.
Properly managing your queue means your scheduled content is always in sync with the current conversation. It lets you pivot when needed and ensures you're hitting the best times to tweet for the biggest impact.
Common Questions About Scheduling Tweets via API
Once you start building an application to schedule tweets with an API, a few questions almost always come up. Getting these sorted out from the beginning will save you a ton of headaches down the road and help you build something far more reliable.
The first thing developers usually run into is rate limiting. It's just a reality of working with APIs; they need to ensure stability for everyone. With the LATE API, you're looking at a limit of around 50 scheduling requests per user within a 15-minute window. The best way to handle this is to build your app to listen for the Retry-After header when you get a rate limit response. It's a simple, elegant way to play nice with the system.
Advanced Scheduling Scenarios
Another big question I hear is about scheduling more complex content. Can you schedule entire tweet threads? What about polls?
Absolutely. It just requires a slightly different approach in your request structure.
- For Threads: You'll make a series of sequential scheduling calls. The magic is in linking them together. Just pass the
in_reply_to_tweet_idparameter in each follow-up tweet, pointing to the tweet that came before it. - For Polls: This is pretty straightforward. You just include the
pollobject right in your request body, where you can define the different choices and how long the poll should run.
Of course, always keep an eye on the latest API documentation for the exact formats. These things can get updated, and you want to be on the latest version.
The single most important tip I can give you for scheduling is to standardize your time zones. Always, always convert local times to Coordinated Universal Time (UTC) before you send them to the API.
This one simple step eliminates nearly all ambiguity and prevents the most common (and frustrating) scheduling bugs. The API expects the schedule_at parameter in the ISO 8601 format (like 2024-12-01T15:30:00Z). Using UTC guarantees your tweets go out at the exact moment you intend, no matter where your servers or your users are located.
Ready to stop juggling multiple social media APIs? With LATE, you can integrate once and schedule content across seven major platforms with a single, reliable API. Get your free API key and start building in minutes at https://getlate.dev.